
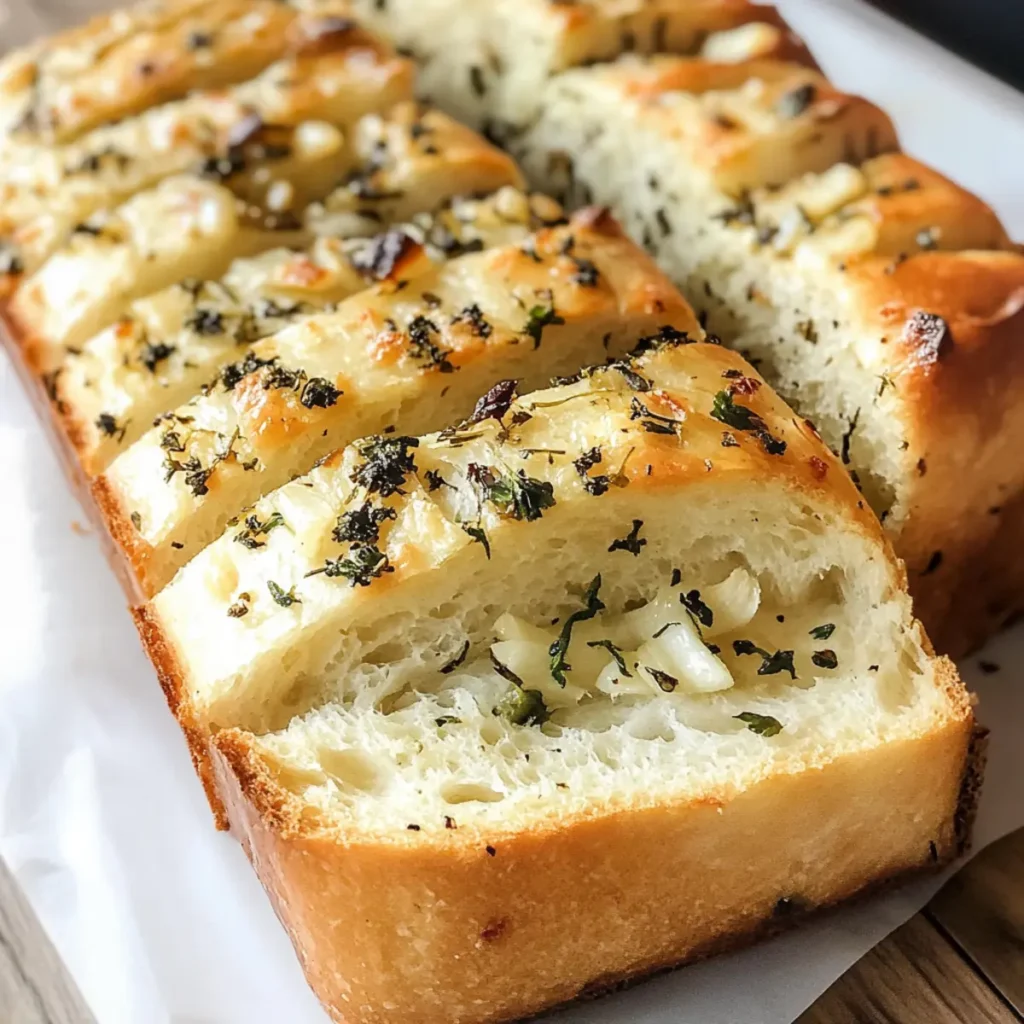
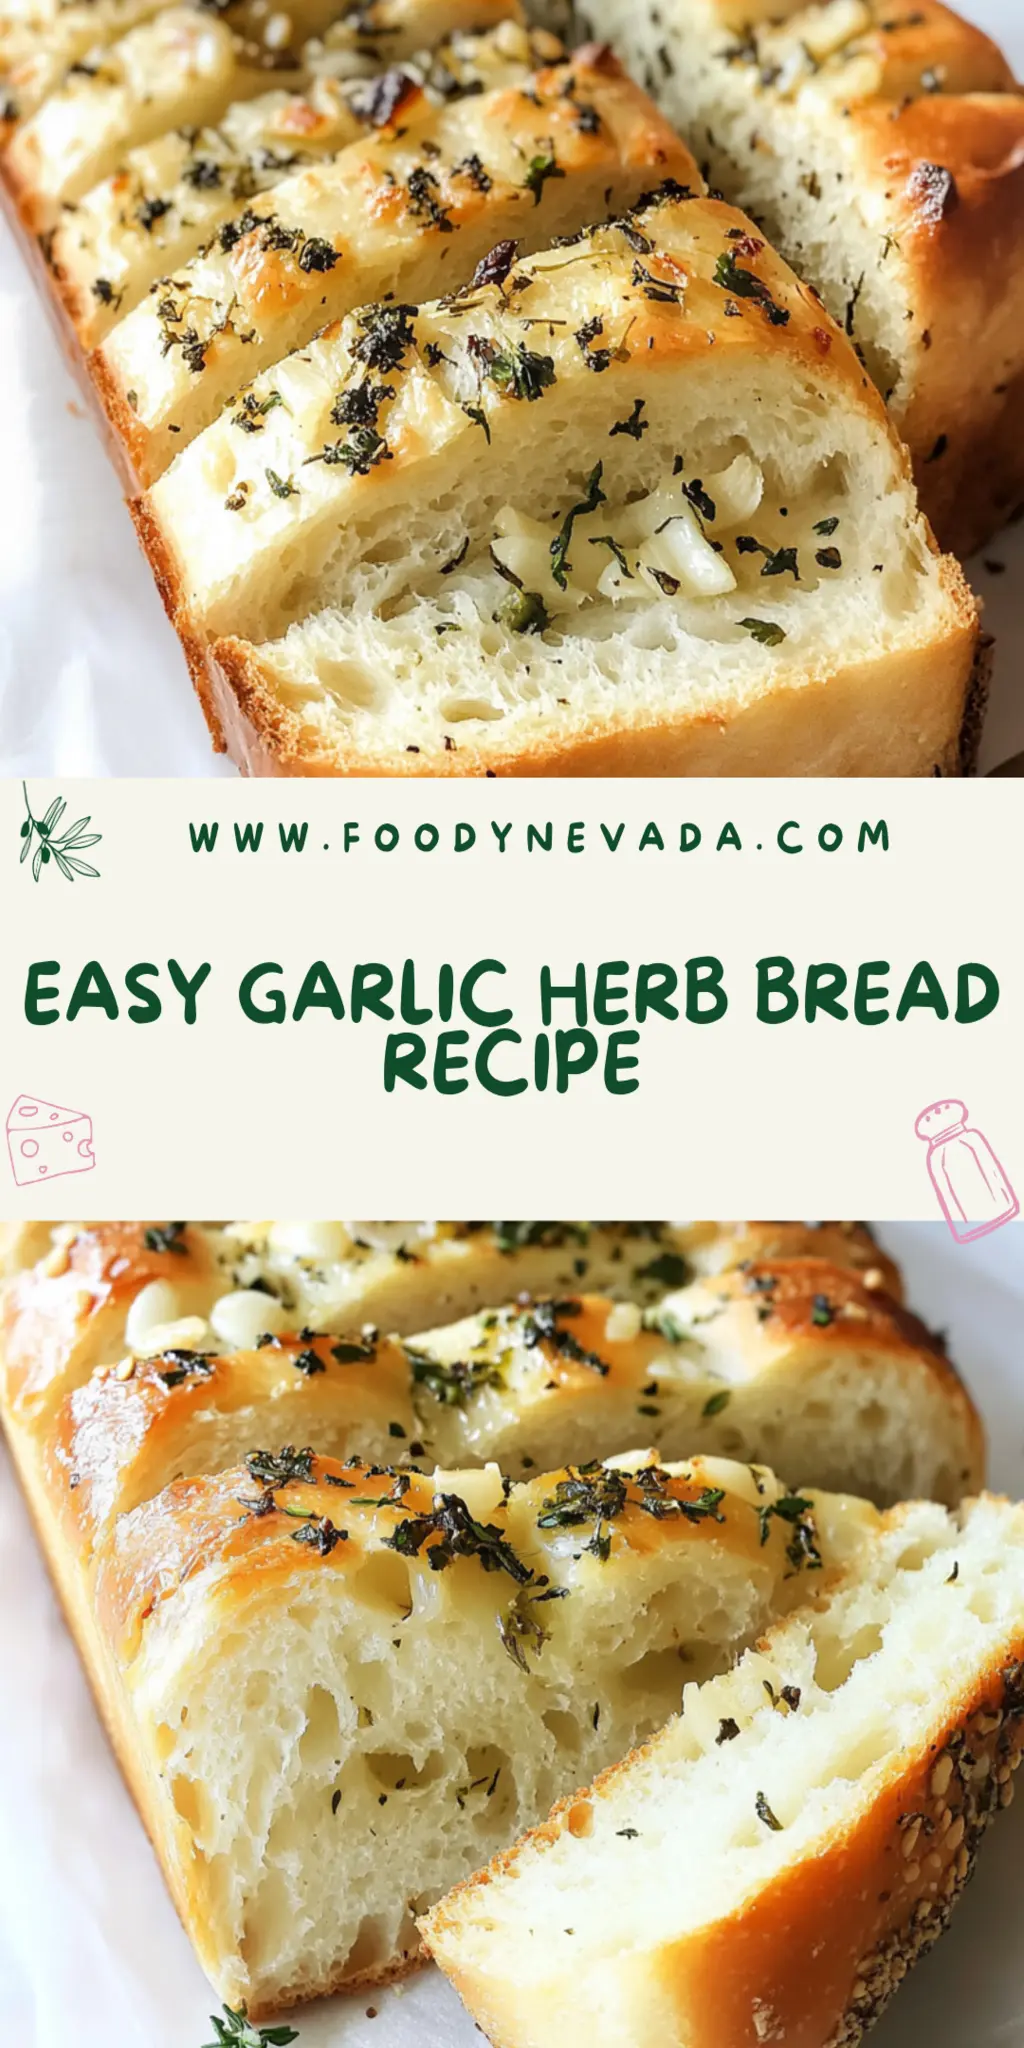
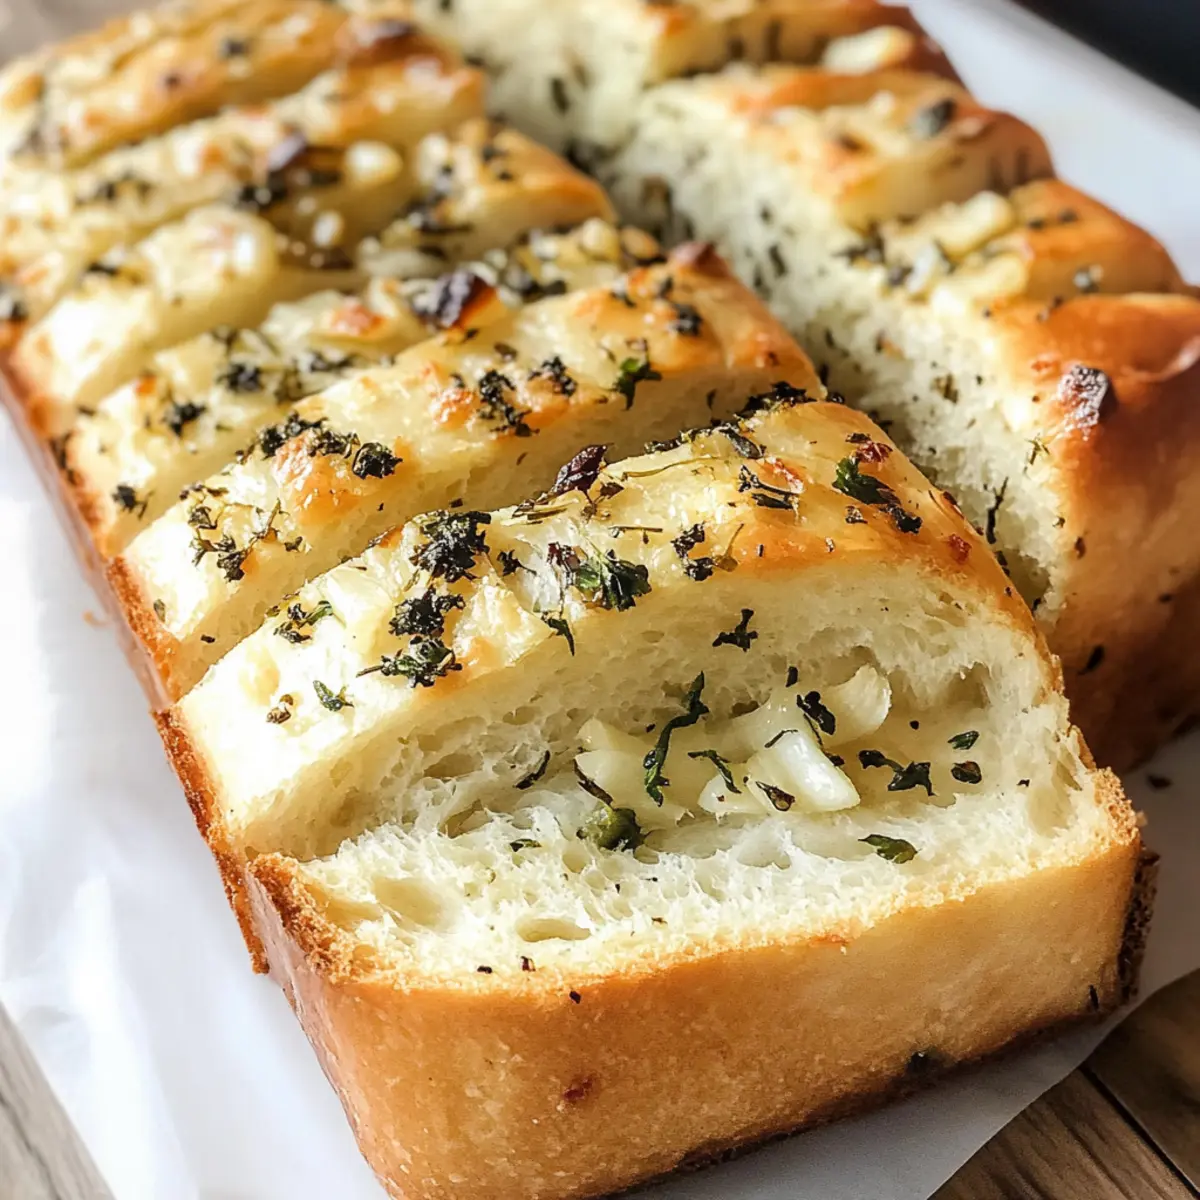
Garlic Herb Bread is pure magic in loaf form. Imagine pulling a warm loaf out of the oven, the aroma of freshly baked bread mingling with the savory scent of garlic and herbs—it’s a symphony of flavors that hits you right in the heart. Each bite of this fluffy, golden delight is a comforting embrace, warming your soul as if your grandma herself whipped it up, even if you’re the one in the kitchen.
Picture this: It’s a chilly evening, and your friends swing by for a casual dinner. You pull out your Garlic Herb Bread, and suddenly, it’s the star of the show. The texture is just right—crispy on the outside, chewy on the inside—and the flavor? Let’s just say you might want to make two loaves because this bread disappears faster than you can say, “Who wants seconds?”
Why You'll Love This Garlic Herb Bread
- This incredible Garlic Herb Bread transforms simple everyday ingredients into restaurant-quality flavors that will blow your mind completely.
- Foolproof recipe techniques guarantee perfect results every single time, making even novice cooks feel like professional chefs instantly.
- Stunning visual appeal with gorgeous colors and mouthwatering aromas creates the ultimate Instagram-worthy dish for any special occasion.
- Endlessly adaptable for different dietary needs while working beautifully for meal prep, date nights, or entertaining large groups effortlessly.
Ingredients for Garlic Herb Bread
Here’s what you’ll need to make this delicious Garlic Herb Bread:
3 cups All-purpose flour – The foundation of your bread; ensures a fluffy loaf. Avoid using cake flour; you want the elasticity of all-purpose.
1 cup Warm water – Activates the yeast; it should feel like a warm hug, not hot enough to scald you.
2 teaspoons Active dry yeast – The magical ingredient that helps your bread rise beautifully. Make sure it’s fresh; old yeast can be a buzzkill.
2 tablespoons Olive oil – Adds moisture and delicious flavor; feel free to experiment with flavored olive oils for a twist.
1 teaspoon Sugar – Just a pinch gives the yeast something to feast on, helping it work its rising magic.
1 teaspoon Salt – Enhances flavor while controlling yeast activity; don’t skip it—it’s a flavor powerhouse.
4 cloves Fresh garlic (minced) – The star flavor that takes this bread from ordinary to “wow.” Fresh is best for maximum impact.
2 tablespoons Mixed herbs (e.g., parsley, rosemary) – Adds that fresh, aromatic punch; use any blend you love.
1/4 cup Butter (melted) – For brushing on top; it gives your loaf a beautiful shine and irresistible flavor.
How to Make Garlic Herb Bread
Follow these simple steps to prepare this delicious Garlic Herb Bread:
Step 1: Activate the Yeast
In a bowl, combine the warm water, active dry yeast, and sugar. Stir gently and let it sit for about 5 minutes until it becomes frothy. This is where the magic begins, so be patient!
Step 2: Mix the Dry Ingredients
In a large mixing bowl, combine the all-purpose flour and salt. Make a well in the center, like a cozy little pool, where you will eventually mix in the wet ingredients.
Step 3: Combine and Knead
Pour the yeast mixture into the well, adding the olive oil, minced garlic, and mixed herbs. Stir until a dough begins to form. Transfer the dough onto a floured surface and knead for about 10 minutes until it feels smooth and elastic; this is a great workout for your arms!
Step 4: First Rise
Place the dough in a greased bowl, cover it with a damp cloth, and let it rise in a warm place for 1 hour or until it has doubled in size. This is the time to catch up on your favorite show or brew a nice cup of tea.
Step 5: Shape the Dough
Once risen, punch down the dough (let out all that pent-up energy) and shape it into a loaf. Place it in a greased loaf pan, ensuring it fits snugly.
Step 6: Second Rise and Bake
Brush the top with melted butter, cover with a cloth, and let it rise for another 30 minutes. Preheat your oven to 375°F (190°C). When the dough has risen again, bake for 30 minutes or until golden brown. The aroma will be incredible!
Let your Garlic Herb Bread cool for a few minutes before slicing. Serve it warm with butter or as an amazing side for soups and salads. Everyone will be asking for your secret recipe and, trust me, you’ll want to keep it a mystery for a little longer!
Garlic Herb Bread is not just a recipe; it’s an experience, a memory maker, and a marvelous gateway to cozy evenings and happy gatherings. Whether you pair it with a hearty stew or simply indulge in its garlicky goodness, it’s bound to become a favorite in your home. Enjoy every crumb!
You Must Know About Garlic Herb Bread
- This showstopping Garlic Herb Bread delivers restaurant-quality results using simple ingredients you probably already have at home.
- The perfect balance of textures and flavors creates an unforgettable dining experience that will have everyone asking for seconds.
- Picture-perfect presentation with vibrant colors makes this dish absolutely Instagram-worthy and guaranteed to impress any dinner guest.
- Incredibly versatile recipe that works beautifully for weeknight dinners, meal prep, special occasions, or even outdoor entertaining sessions.
Perfecting Garlic Herb Bread Cooking Process
To achieve the best results with Garlic Herb Bread, start by preparing your dough while your yeast activates. Once the dough rises, preheat your oven and shape the loaf, ensuring that everything flows seamlessly for a perfect bake.
Add Your Touch to Garlic Herb Bread
Get creative with your Garlic Herb Bread by swapping in your favorite herbs, like thyme or basil, or adding cheese like mozzarella for extra richness. You can even sprinkle some crushed red pepper flakes for a spicy kick.
Storing & Reheating Garlic Herb Bread
To store your Garlic Herb Bread, wrap it tightly in plastic wrap or foil to keep it fresh. Reheat in the oven at 350°F for about 10 minutes to restore its lovely crustiness.
Chef's Helpful Tips for Garlic Herb Bread
- This professional-quality Garlic Herb Bread relies on precise timing and temperature control to achieve restaurant-standard results consistently.
- Master the art of mise en place by prepping all ingredients beforehand, ensuring smooth execution and preventing any last-minute cooking disasters.
- The secret lies in layering flavors throughout the cooking process rather than seasoning only at the end for maximum depth.
- Pro tip: let the finished dish rest for optimal texture and flavor development before serving to hungry guests waiting eagerly.
It’s funny how my kitchen has become the unofficial neighborhood hangout since I started making Garlic Herb Bread. Friends drop by, eyes wide with excitement, even if I just have a loaf ready and a bit of butter on the table.
FAQs About Garlic Herb Bread
What is Garlic Herb Bread?
Garlic Herb Bread is a delicious, homemade bread that combines fragrant garlic with a mix of herbs, creating a savory flavor. This bread is perfect for serving alongside pasta, soups, or as a delightful appetizer on its own. With a crispy crust and a soft, fluffy interior, it’s a crowd-pleaser that you can whip up in under 45 minutes. The combination of fresh garlic, herbs, and butter makes this bread a flavorful addition to any meal.
How can I customize my Garlic Herb Bread?
You can easily customize your Garlic Herb Bread by adding different herbs or toppings. Consider using thyme, oregano, or basil for a unique flavor profile. For a cheesy twist, sprinkle mozzarella or cheddar cheese on top before baking. If you prefer a bit of heat, add some crushed red pepper flakes. These simple tweaks allow you to tailor the recipe to your taste, making it truly your own.
Can I freeze Garlic Herb Bread?
Yes, you can freeze Garlic Herb Bread! To freeze it, allow the bread to cool completely after baking. Wrap it tightly in plastic wrap or aluminum foil, then place it in a freezer-safe bag. When you’re ready to enjoy the bread, thaw it overnight in the fridge and reheat it in the oven for a few minutes to restore its delightful texture. This way, you can savor homemade goodness anytime you wish!
What’s the best way to store Garlic Herb Bread?
The best way to store Garlic Herb Bread is by wrapping it tightly in plastic wrap or aluminum foil and keeping it in a cool, dry place, or in the refrigerator if you want it to last longer. For optimal freshness, consume it within a few days. If you want to maintain that fresh-baked flavor, simply reheat the bread in the oven at 350°F for about 10 minutes before serving.
Conclusion for Garlic Herb Bread
In conclusion, Garlic Herb Bread is an easy and versatile recipe that adds a burst of flavor to any meal. With its crispy crust, fluffy interior, and delightful aroma, this bread is sure to impress family and friends alike. Remember, whether you customize it with various herbs or enjoy it plain, Garlic Herb Bread always delivers a comforting touch to your dining experience. So, roll up your sleeves, gather those ingredients, and bake yourself a loaf of this delicious bread today!
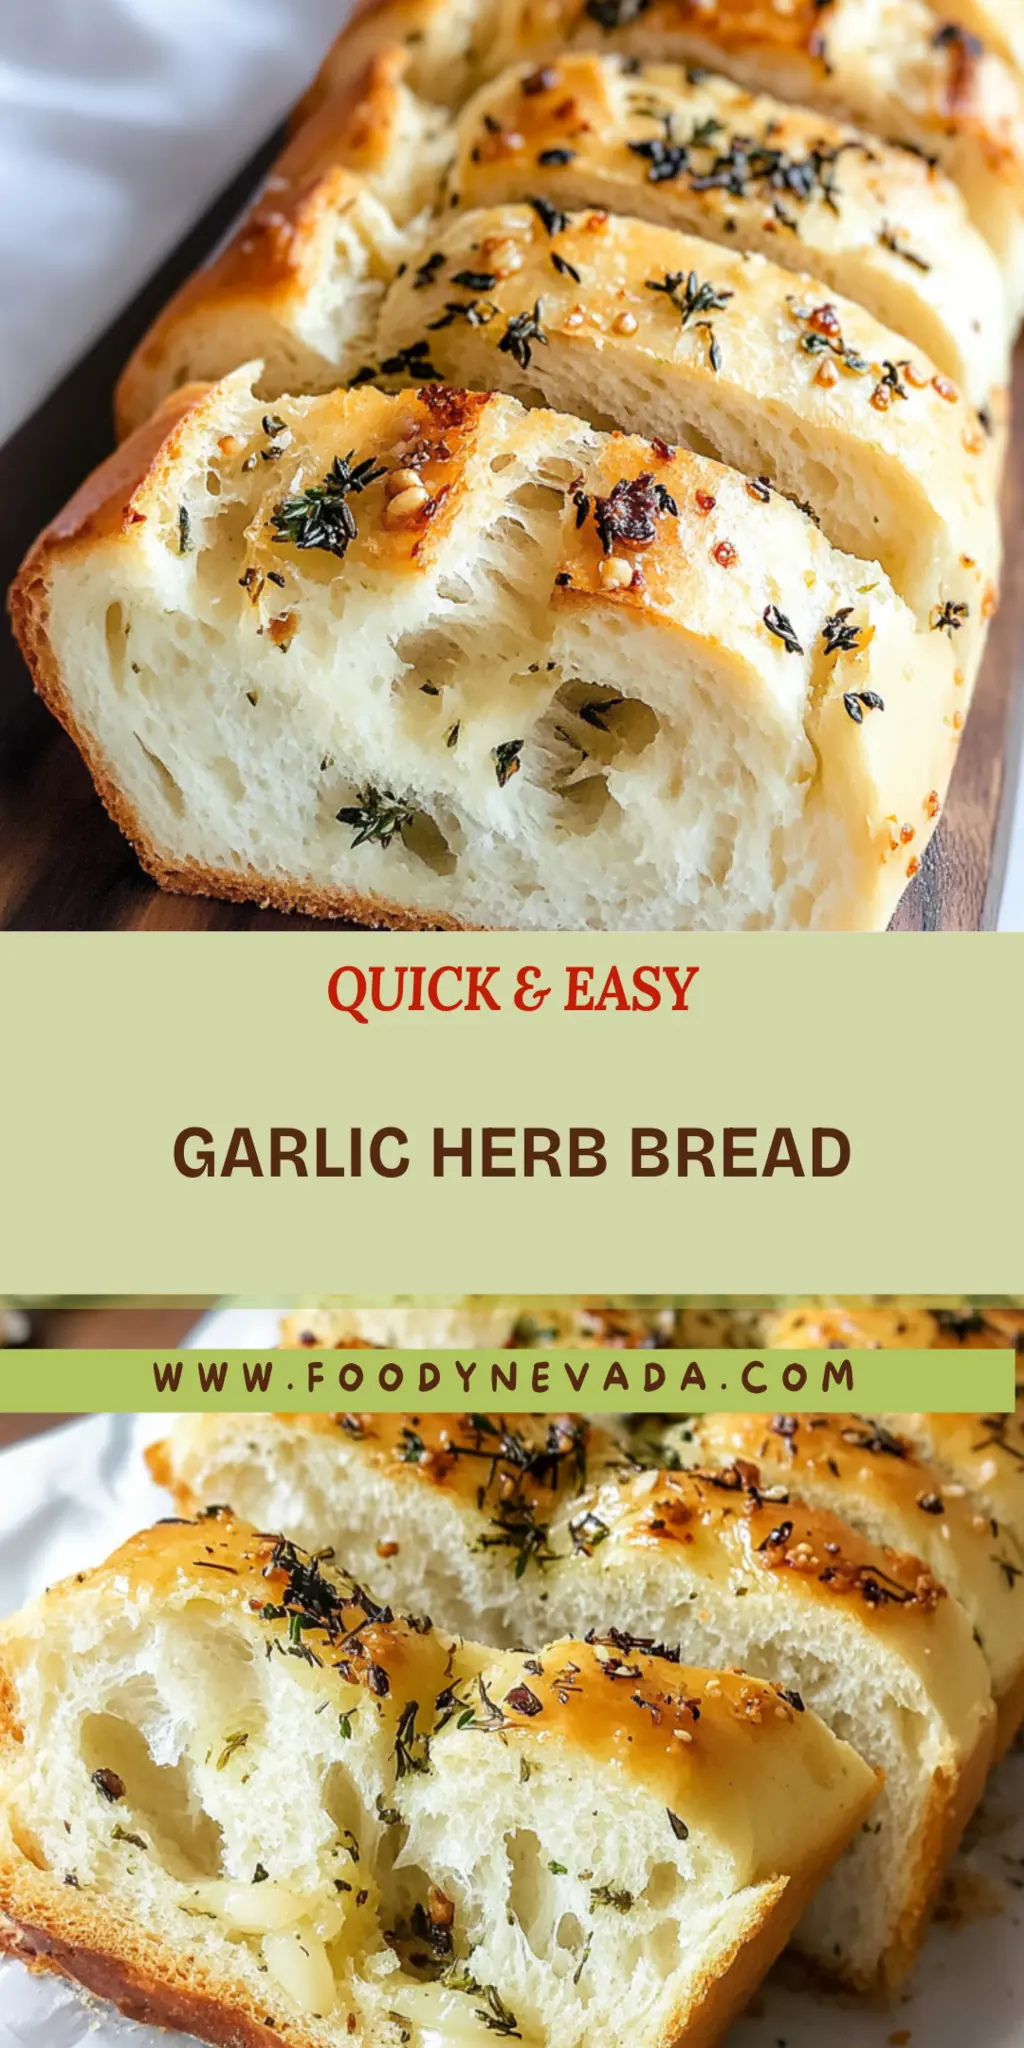
Garlic Herb Bread
Ingredients
Equipment
Method
- In a bowl, combine warm water, active dry yeast, and sugar. Let it sit for about 5 minutes until frothy.
- In a large mixing bowl, combine all-purpose flour and salt. Make a well in the center and add the yeast mixture, olive oil, minced garlic, and mixed herbs.
- Mix until a dough forms. Knead the dough on a floured surface for about 10 minutes until smooth.
- Place the dough in a greased bowl, cover, and let it rise in a warm place for 1 hour or until doubled in size.
- Preheat the oven to 375°F (190°C).
- Punch down the dough and shape it into a loaf. Place in a greased loaf pan.
- Brush the top with melted butter and let it rise for another 30 minutes.
- Bake for 30 minutes or until golden brown. Let cool before slicing.