
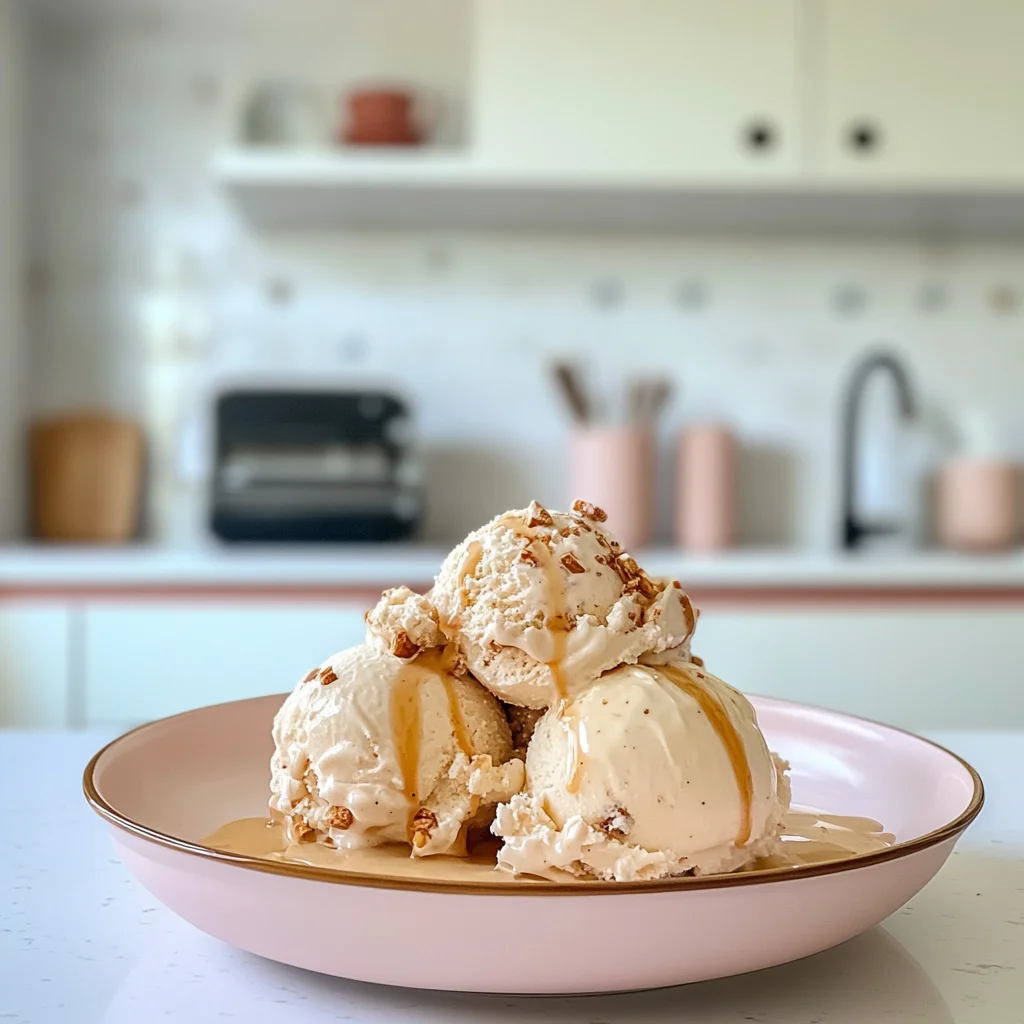
Imagine a scoop of creamy no churn ice cream, melting softly on your tongue, with a rich sweetness that dances in harmony with your favorite flavors. The delightful aroma of vanilla wafts through the air, promising a cool escape from the summer heat or the perfect ending to a cozy dinner party.
As I recall those lazy afternoons spent experimenting in the kitchen with my kids, this no churn ice cream became our go-to treat—simple to whip up and utterly satisfying. Whether it’s a birthday celebration, a backyard barbecue, or just a little indulgence after a long day, this delightful dessert guarantees smiles and happy hearts while delivering a sweet surprise with every velvety bite.
Why Is no churn ice cream So Irresistibly Good?
Creamy texture: The combination of heavy cream and sweetened condensed milk creates a luxuriously smooth base that melts in your mouth.
No special equipment: Forget the ice cream maker! This easy recipe means you can whip up a batch in just 15 minutes with simple ingredients.
Endless flavors: From chocolate chips to crushed cookies or fresh fruit, customize your treat to suit any craving or occasion.
Perfect for gatherings: Impress your friends and family with a homemade dessert that’s sure to be a crowd-pleaser, making every scoop a moment of joy!
no churn ice cream Ingredients
- For the Base
- 2 cups heavy cream (chilled) – Chilling the cream ensures a fluffy and airy texture for your no churn ice cream.
- 1 can sweetened condensed milk – This adds sweetness and creaminess without needing an ice cream maker.
- 1 teaspoon vanilla extract – Enhances the overall flavor, making your ice cream taste even more delicious.
- Optional Mix-ins
- 1 cup chocolate chips (or fruit) – Feel free to mix in chocolate chips or fresh fruit for added flavor and texture.
- 1/2 cup crushed cookies (for flavor variation) – Crushed cookies create delightful swirls and bits throughout your creamy treat.
How to Make no churn ice cream
1. Whip the Cream: In a mixing bowl, whip 2 cups of chilled heavy cream until stiff peaks form. This should take about 3-5 minutes with an electric mixer, creating a fluffy base for your ice cream.
2. Combine Ingredients: In another bowl, mix together 1 can of sweetened condensed milk and 1 teaspoon of vanilla extract. This sweet mixture will add rich flavor and creaminess to your no churn ice cream.
3. Fold Together: Gently fold the whipped cream into the condensed milk mixture until well combined. Be careful not to deflate the whipped cream; you want to keep that light, airy texture!
4. Add Mix-ins: If desired, fold in 1 cup of chocolate chips or 1/2 cup of crushed cookies for a fun flavor variation. These add-ins create delightful surprises in every scoop!
5. Transfer and Smooth: Carefully transfer the mixture to a freezer-safe container and smooth the top with a spatula. This ensures even freezing and makes for beautiful scoops later.
6. Freeze: Cover the container and freeze for at least 4 hours or until firm. Patience is key here—let it chill until it’s perfectly scoopable!
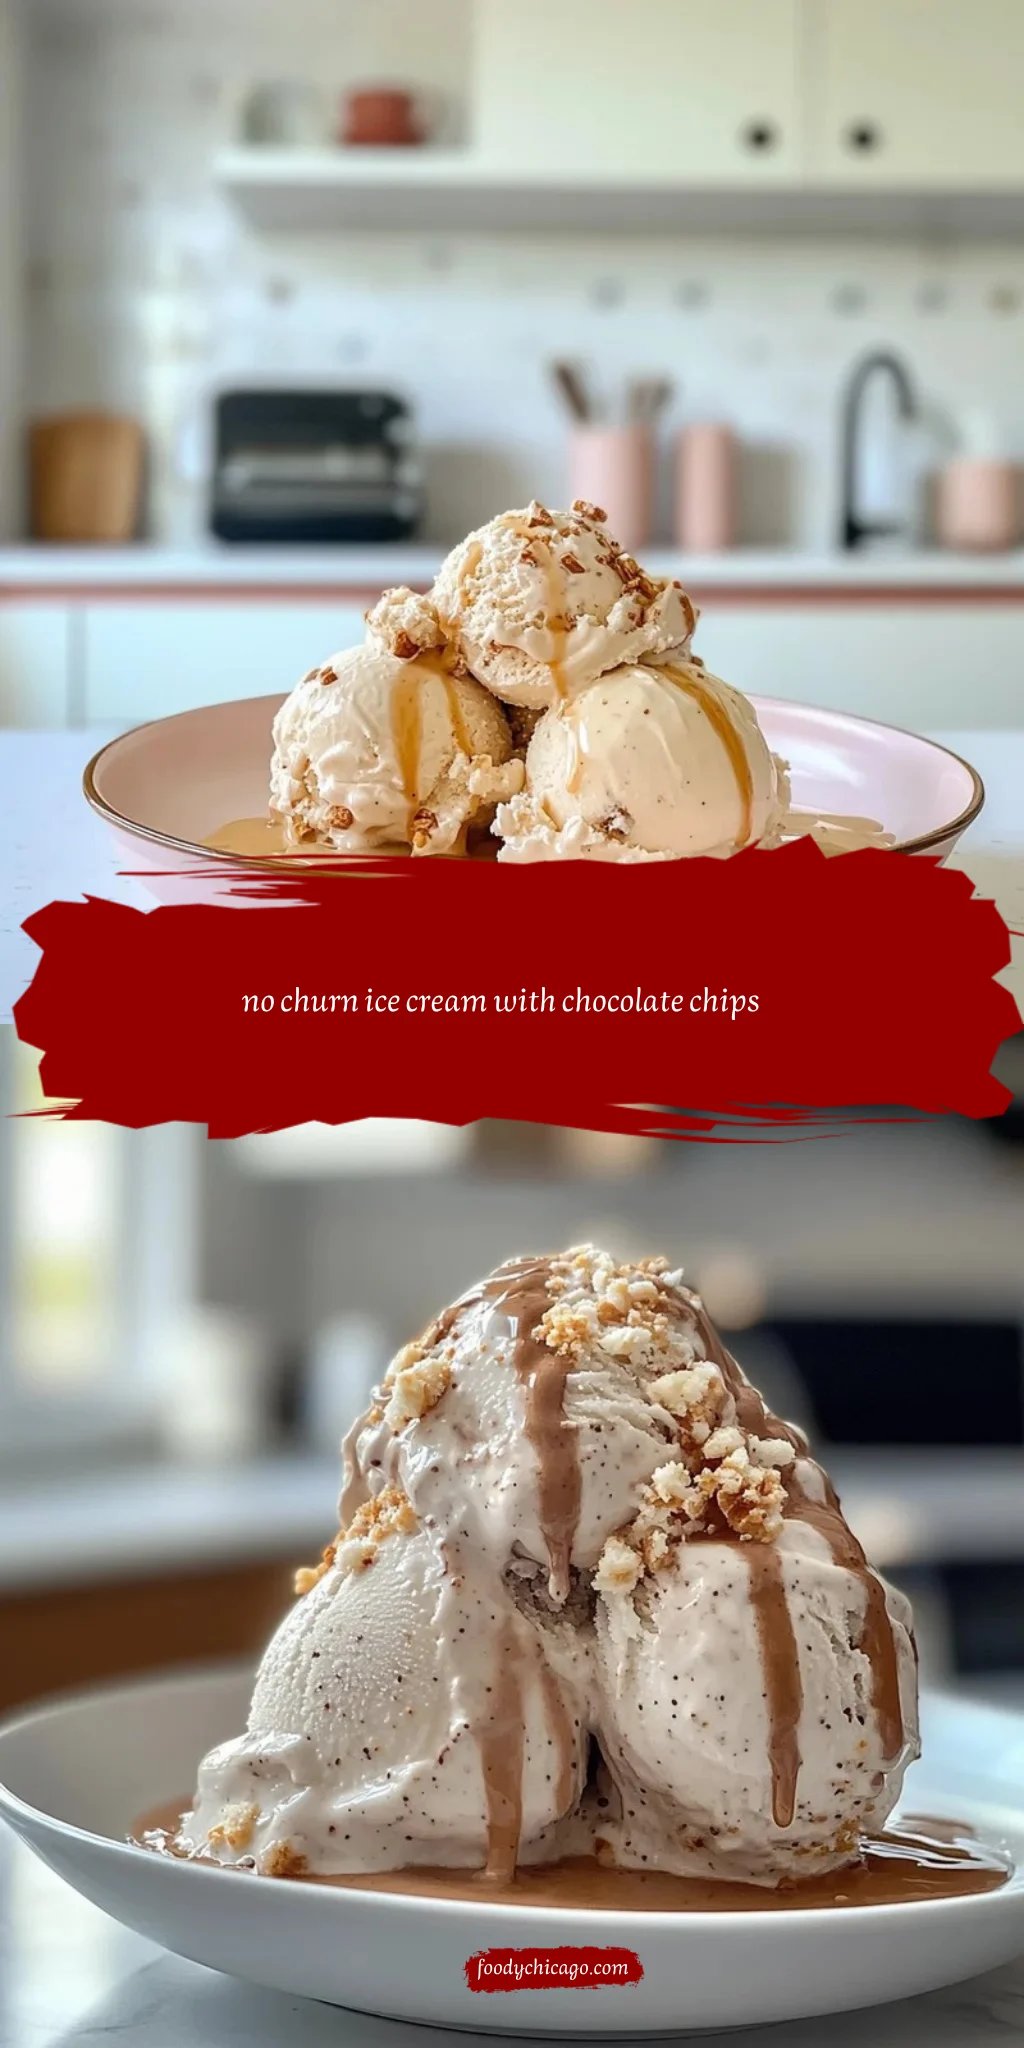
7. Serve Up: Scoop and serve your homemade no churn ice cream as desired! Enjoy it in a bowl or cone, topped with your favorite drizzles or sprinkles.
Optional: Drizzle with chocolate sauce for an extra indulgent treat!
Exact quantities are listed in the recipe card below.
Pro Tips for no churn ice cream
- Chill Your Cream: Ensure the heavy cream is well-chilled before whipping; this helps achieve light and airy peaks for a creamier texture.
- Fold, Don’t Stir: Gently fold the whipped cream into the condensed milk mixture to maintain airiness; stirring can deflate your no churn ice cream.
- Mix-in Timing: Add chocolate chips or crushed cookies right after combining the bases, ensuring even distribution without compromising texture.
- Freezer Container Choice: Use a shallow freezer-safe container for quicker freezing; a deep container may lead to uneven firmness.
- Wait Before Scooping: Allow the ice cream to sit at room temperature for 5–10 minutes before scooping; this makes serving much easier and more enjoyable.
How to Store and Freeze no churn ice cream
- Freezer: Store your no churn ice cream in an airtight container for up to 2 weeks. This helps maintain its creamy texture and prevents freezer burn.
- Fridge: If you have leftover mix-ins, keep them in the fridge for up to 3 days. They can be added to your next batch or used in other desserts.
- Serving: For the best scoopability, let your no churn ice cream sit at room temperature for about 5-10 minutes before serving. Enjoy the creamy goodness!
no churn ice cream Your Way
Feel free to let your creativity shine by customizing this delightful treat with these fun variations!
- Dairy-Free: Substitute heavy cream with coconut cream for a rich, tropical flavor. This twist lends a luscious texture and subtle sweetness that pairs beautifully with fruits like mango or pineapple.
- Chocolate Lovers: Add 1 cup of chocolate hazelnut spread instead of vanilla extract. The result is an indulgently creamy dessert that brings a delightful nutty flavor, perfect for satisfying those chocolate cravings.
- Minty Fresh: Incorporate 1 teaspoon of peppermint extract for a refreshing twist. Pair it with crushed chocolate cookies to create a delicious mint chocolate chip experience that feels like summer in every scoop.
- Fruit Fusion: Replace chocolate chips with 1 cup of your favorite berries. Mixed into the creamy base, they add bursts of flavor and natural sweetness that make every bite a fruity delight.
- Spiced Delight: Mix in 1 teaspoon of cinnamon and a pinch of nutmeg for a warm, comforting experience. This cozy variation transforms your ice cream into an autumn-inspired treat that’s perfect any time of year.
- Nutty Crunch: Fold in 1/2 cup chopped nuts such as almonds or pecans. Their crunchy texture adds an enjoyable contrast to the smooth creaminess, making each spoonful satisfying and flavorful.
- Caramel Swirl: Drizzle in 1/2 cup caramel sauce just before freezing. This sweet addition creates beautiful swirls and enhances the overall richness, turning your homemade dessert into something truly special.
Make Ahead Options

This no churn ice cream recipe is perfect for meal prep, allowing you to enjoy a creamy treat without the last-minute fuss. You can easily prepare the base ingredients—2 cups of chilled heavy cream, one can of sweetened condensed milk, and one teaspoon of vanilla extract—up to 24 hours in advance. Simply whip the heavy cream until stiff peaks form, then combine it with the condensed milk and vanilla before folding them together. If you’d like to add optional mix-ins such as 1 cup of chocolate chips or ½ cup of crushed cookies for flavor variation, feel free to do so ahead of time as well. Once you’ve transferred the mixture into a freezer-safe container and smoothed the top, cover it and freeze for at least 4 hours or until firm. When you’re ready to serve this delicious no churn ice cream, just scoop and enjoy!
no churn ice cream Recipe FAQs
Can I use different types of cream for this recipe?
While heavy cream is ideal for achieving that rich and creamy texture, you can substitute it with whipping cream. Just ensure it has a fat content of at least 30% to achieve the best results.
What if I don’t have sweetened condensed milk?
If sweetened condensed milk isn’t on hand, you can create a similar base by simmering regular milk with sugar until it thickens. Use about 1 cup of milk combined with 1/3 cup of sugar, simmering until reduced by half.
How should I store my no churn ice cream?
Store your ice cream in an airtight container in the freezer. It’s best enjoyed within two weeks for optimal freshness, but it can last up to a month if stored properly. Just remember to let it sit out for a few minutes before scooping to make serving easier!
Can I customize the mix-ins for my ice cream?
Absolutely! Feel free to get creative with mix-ins. Alongside chocolate chips and crushed cookies, consider adding fresh fruits like strawberries or blueberries for a refreshing twist. Just remember that fruit may add extra moisture, so use it sparingly.
What’s the best way to scoop the no churn ice cream?
To make scooping easier after freezing, run your scoop under warm water for a few seconds before diving in. This little trick helps to soften the edges just enough so you can serve perfect scoops without too much effort.
How long does this no churn ice cream take to freeze?
You’ll want to freeze your mixture for at least 4 hours, or until firm. If you can wait overnight, that’s even better! The longer it sits, the more deliciously firm and creamy it will become when you’re ready to indulge.
No Churn Ice Cream
Ingredients
Method
- In a mixing bowl, whip the heavy cream until stiff peaks form.
- In another bowl, combine the sweetened condensed milk and vanilla extract.
- Gently fold the whipped cream into the condensed milk mixture until well combined.
- If desired, fold in chocolate chips or crushed cookies.
- Transfer the mixture to a freezer-safe container and smooth the top.
- Cover and freeze for at least 4 hours or until firm.
- Scoop and serve the ice cream as desired.