
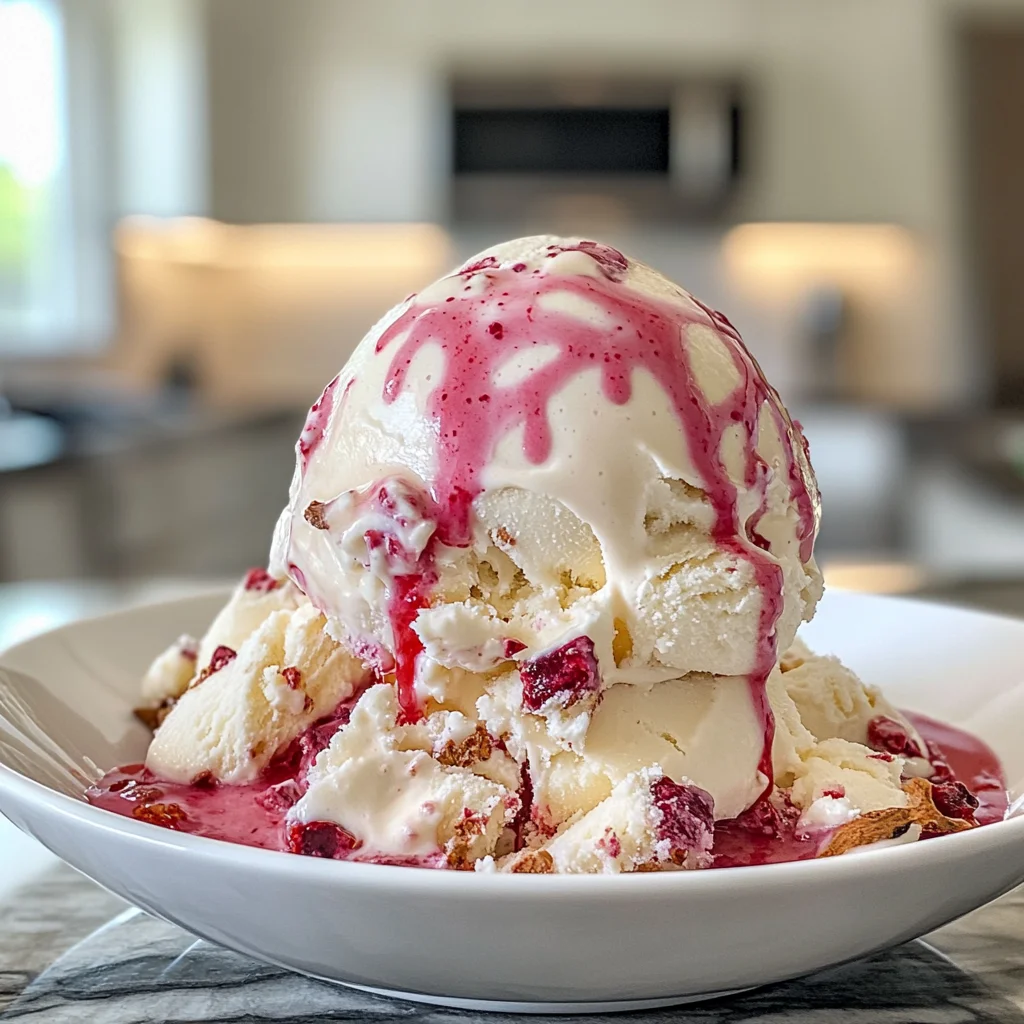
Imagine the delightful swirl of creamy vanilla ice cream, each spoonful melting in your mouth like a soft cloud on a summer’s day. The rich aroma fills the air, making you nostalgic for those carefree childhood afternoons spent chasing ice cream trucks, with laughter echoing in the warm breeze. With ninja creami ice cream recipes, you can easily recreate that blissful experience right at home, transforming simple ingredients into a luscious treat that will leave everyone begging for seconds.
As you gather around the table with friends and family, serving up this homemade vanilla ice cream becomes an occasion worth celebrating. Picture the smiles as they scoop generous portions, savoring each bite filled with sweet memories and creamy goodness. This isn’t just dessert; it’s a ticket to joy, perfect for movie nights or backyard barbecues, promising an unforgettable flavor adventure that will have everyone coming back for more.
Why Is ninja creami ice cream recipes So Irresistibly Good?
Creamy texture: The combination of heavy cream and whole milk creates a luxuriously smooth ice cream that melts in your mouth.
Natural sweetness: With just the right amount of granulated sugar, every bite is perfectly balanced, making it a delightful treat for everyone.
Rich vanilla flavor: Thanks to pure vanilla extract, this recipe delivers an authentic taste that stands out from store-bought options.
Quick prep time: In just 15 minutes, you can whip up this delicious dessert, saving you time while satisfying your cravings.
Versatile base: This vanilla ice cream is a perfect canvas; mix in your favorite toppings or flavors for endless variations that will impress friends and family!
ninja creami ice cream recipes Ingredients
- 2 cups heavy cream – This forms the luscious base of your ice cream, creating that rich and creamy texture we all love.
- 1 cup whole milk – Adds a lighter consistency while enhancing the overall creaminess of the final product.
- 3/4 cup granulated sugar – Sweetens your ice cream perfectly; feel free to adjust slightly for your taste.
- 1 tablespoon pure vanilla extract – Infuses delightful vanilla flavor, making your homemade treat irresistibly tasty.
- 1/4 teaspoon salt – Balances the sweetness and enhances all the flavors in this delightful ninja creami ice cream recipe.
Step-by-Step ninja creami ice cream recipes

1. Whisk Together: In a mixing bowl, whisk together 2 cups of heavy cream, 1 cup of whole milk, 3/4 cup of granulated sugar, 1 tablespoon of pure vanilla extract, and 1/4 teaspoon of salt until the sugar is completely dissolved. This creates a beautifully smooth base for your ice cream.
2. Pour Mixture: Carefully pour the creamy mixture into the Ninja Creami pint container and secure the lid tightly. Make sure it’s sealed well to prevent any spillage while freezing!
3. Freeze: Place the pint container in the freezer for at least 24 hours until it’s completely frozen solid. This step is crucial for that rich, creamy texture we all love in ice cream.
4. Let It Rest: Remove the pint from the freezer and let it sit at room temperature for about 5 minutes. This short wait will make it easier to blend into that perfect ice cream consistency.
5. Creamify: Insert the pint into the Ninja Creami and select the ‘Ice Cream’ function. Just sit back and watch as it transforms your frozen base into delightful creamy vanilla ice cream!
6. Enjoy: Once the process is complete, scoop out your delicious homemade vanilla ice cream and enjoy every spoonful of this creamy delight!
Optional: Drizzle with chocolate sauce or sprinkle with crushed nuts for an extra treat!
Exact quantities are listed in the recipe card below.
Expert Tips
- Cream Quality Matters: Use high-quality heavy cream and whole milk for a richer, creamier texture in your Ninja Creami ice cream recipes.
- Sugar Dissolution: Ensure the granulated sugar is fully dissolved in the mixture. This prevents any graininess in your final ice cream.
- Freezing Time: Don’t rush the freezing process! Allow at least 24 hours for the pint container to freeze solidly; this ensures perfect consistency.
- Temperature Check: Letting the pint sit at room temperature for 5 minutes before processing helps achieve a smoother texture—don’t skip this step!
- Mixing Variations: Feel free to experiment by adding mix-ins like chocolate chips or fruit purées after the initial ice cream cycle for delightful twists on classic ninja creami ice cream recipes.
How to Store and Freeze ninja creami ice cream recipes
- Freezer: Store your Ninja Creami ice cream in an airtight container for up to 2 weeks. This keeps it creamy and prevents freezer burn.
- Fridge: If you have leftover ingredients, keep them in the fridge for up to 3 days. Make sure they are well-covered to maintain freshness.
- Serving: When ready to serve, let your ice cream sit at room temperature for about 5–10 minutes. This makes scooping easier and enhances the creamy texture of your ninja creami ice cream recipes.
ninja creami ice cream recipes Your Way
Feel free to unleash your creativity and transform this delightful treat into something uniquely yours!
- Chocolate Lovers: Substitute 1/2 cup of the heavy cream with chocolate syrup for a rich, chocolatey flavor. The combination of vanilla and chocolate creates a luscious swirl that will have everyone reaching for seconds.
- Fruit-Infused: Replace 1/2 cup of whole milk with fruit puree, like strawberry or mango. This adds a fresh burst of flavor, making each scoop a delightful fruity experience.
- Nutty Delight: Mix in 1/2 cup of chopped nuts, such as pistachios or almonds, before freezing. The crunchy texture complements the creamy base beautifully and adds an exciting element to every bite.
- Coffee Kick: Incorporate 1/4 cup of brewed espresso or strong coffee in place of some sugar. The deep, aromatic notes will elevate your ice cream to a whole new level—perfect for coffee enthusiasts!
- Salted Caramel Twist: Drizzle in 1/4 cup of caramel sauce just before freezing for a sweet-salty treat. The ribbons of caramel create an irresistible contrast with the vanilla base.
- Coconut Cream: Use coconut milk instead of whole milk for a tropical twist. This variation gives your ice cream a subtle coconut flavor and creamy texture that’s simply divine.
- Minty Freshness: Add 1 tablespoon of peppermint extract for a refreshing mint ice cream. It’s like summer in a scoop—perfect for warm days!
- Spicy Kick: Mix in 1/2 teaspoon of cinnamon or even cayenne pepper for an unexpected heat. This bold twist can surprise your taste buds and add an exciting depth to the classic vanilla flavor.
Make Ahead Options

Preparing this creamy vanilla ice cream using the Ninja Creami is not only a delightful treat but also a fantastic option for meal prep. You can mix together the base ingredients—2 cups of heavy cream, 1 cup of whole milk, 3/4 cup of granulated sugar, 1 tablespoon of pure vanilla extract, and 1/4 teaspoon of salt—up to 3 days in advance. Simply whisk them together until the sugar dissolves, pour the mixture into the Ninja Creami pint container, secure the lid, and freeze for at least 24 hours. When you’re ready to indulge, remove the pint from the freezer and let it sit for about 5 minutes before inserting it into your Ninja Creami and selecting the ‘Ice Cream’ function. This way, you’ll have a refreshing dessert that’s effortlessly prepared ahead of time!
ninja creami ice cream recipes Questions Answered
What type of heavy cream should I use for this recipe?
Opt for heavy cream that contains at least 36% milkfat for the richest and creamiest texture. Look for brands that are labeled “heavy whipping cream” to ensure you’re getting the good stuff. This will contribute to the delightful creaminess of your Ninja Creami ice cream.
Can I substitute any ingredients in this vanilla ice cream recipe?
Absolutely! If you want a lighter version, consider using half-and-half instead of whole milk, though it may slightly alter the texture. For a dairy-free option, try coconut milk or almond milk, but keep in mind that these alternatives will change the flavor profile. Just make sure to keep the sugar content similar for sweetness.
How long can I store my homemade ice cream?
Once you’ve made your creamy vanilla delight, store it in an airtight container in the freezer for up to two weeks. After this time, it may start to lose its creamy texture and flavor. Remember to scoop out servings with a warm spoon to prevent it from hardening too much!
What should I do if my ice cream isn’t creamy after processing?
If your ice cream turns out icy rather than creamy, it likely hasn’t been mixed enough or was frozen too hard. Allow it to sit at room temperature for 5-10 minutes before reprocessing in the Ninja Creami. Also, ensure your mixture is well chilled before freezing—aim for around 24 hours in the freezer.
How many servings does this recipe yield?
This delightful vanilla ice cream recipe makes about 4 servings—perfect for family gatherings or cozy nights in! Each serving contains approximately 250 calories, making it a delicious yet indulgent treat you can enjoy without guilt.
Can I add mix-ins like chocolate chips or fruit?
Definitely! You can fold in chocolate chips, crushed cookies, or fresh fruit after the initial processing. Just remember to only add them after achieving that perfectly creamy texture with your Ninja Creami. This way, you’ll get delicious bites of flavor throughout every scoop!
Ninja Creami Vanilla Ice Cream
Ingredients
Method
- In a mixing bowl, whisk together the heavy cream, whole milk, granulated sugar, vanilla extract, and salt until the sugar is dissolved.
- Pour the mixture into the Ninja Creami pint container and secure the lid.
- Place the pint container in the freezer for at least 24 hours until completely frozen.
- Remove the pint from the freezer and let it sit at room temperature for about 5 minutes.
- Insert the pint into the Ninja Creami and select the 'Ice Cream' function.
- Once the process is complete, enjoy your creamy vanilla ice cream!