
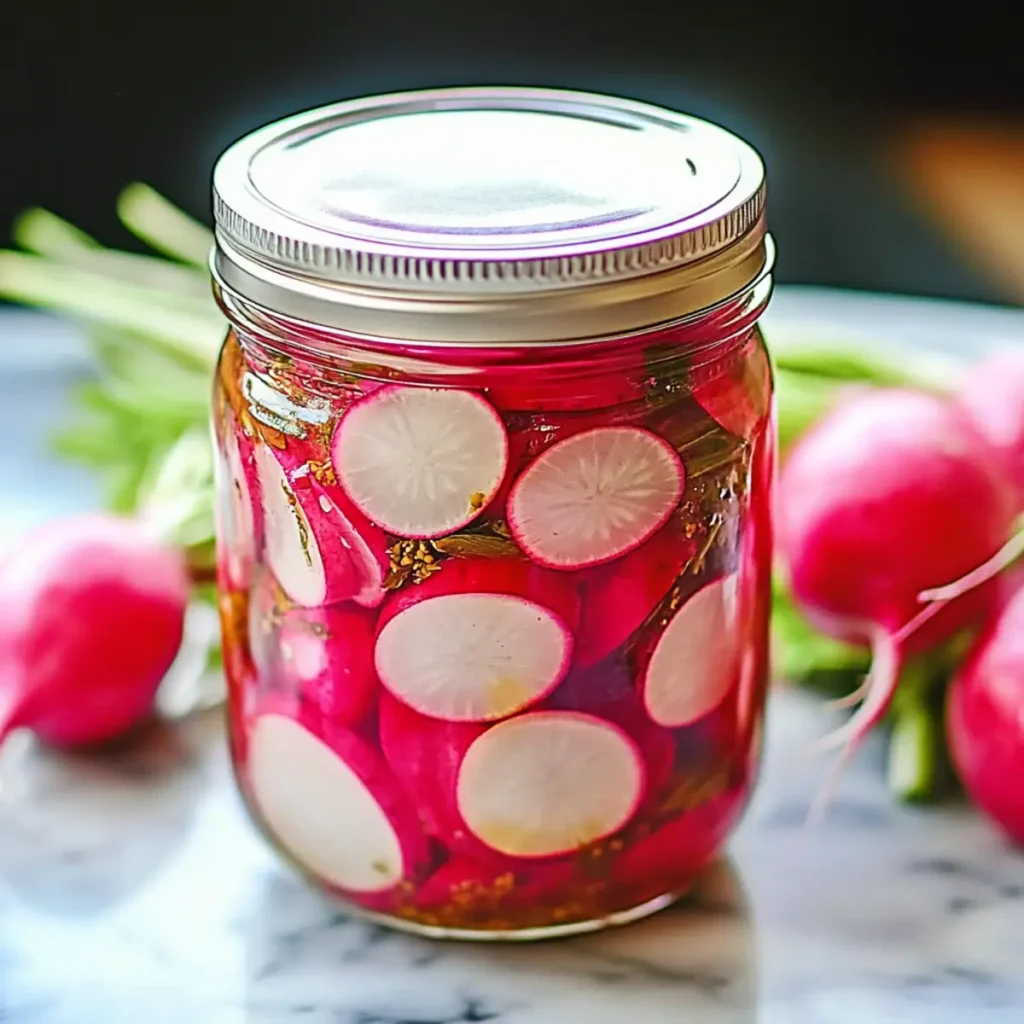
The tangy crunch of Refrigerator Sweet Pickled Radish is an irresistible sensation that dances on your taste buds. Picture this: freshly sliced radishes soaking in a sweet and tangy brine that perfectly balances their natural earthiness. It’s a delightful addition to your meals, bringing bright colors and refreshing flavors to your table.
Now, imagine savoring these beauties at a summer barbecue, enhancing a grilled dish, or simply snacking on them straight out of the jar. Whether you’re spicing up tacos or snacking on them between meals, this simple recipe brings joy and zing to everyday foods, transforming every bite into a mini celebration.
Why You'll Love This Refrigerator Sweet Pickled Radish
- This incredible Refrigerator Sweet Pickled Radish transforms simple everyday ingredients into restaurant-quality flavors that will blow your mind completely.
- Foolproof recipe techniques guarantee perfect results every single time, making even novice cooks feel like professional chefs instantly.
- Stunning visual appeal with gorgeous colors and mouthwatering aromas creates the ultimate Instagram-worthy dish for any special occasion.
- Endlessly adaptable for different dietary needs while working beautifully for meal prep, date nights, or entertaining large groups effortlessly.
Ingredients for Refrigerator Sweet Pickled Radish
Here’s what you’ll need to make this delicious Refrigerator Sweet Pickled Radish:
1 cup Water – This serves as the base for your pickling brine, allowing the flavors to meld beautifully.
1 cup White vinegar – Adds the tangy acidity that’s crucial for that classic pickled flavor.
½ cup Sugar – Sweetens the brine, balancing the vinegar’s tartness and enhancing the radish’s crunch.
1 teaspoon Salt – Elevates the overall flavor and helps draw moisture from the radishes.
1 bunch Fresh radishes – Choose firm, vibrant radishes for the best crunch and flavor.
2 cloves Garlic – Infuses the brine with rich, savory notes, enhancing the overall flavor profile.
1 teaspoon Red pepper flakes – Adds just the right amount of heat and complexity to your pickles.
2 sprigs Dill – Fresh dill lends a down-home herbal note that complements the radish’s natural flavor.
1 teaspoon Mustard seeds – Adds a subtle spice and a delightful crunch that takes your pickles to the next level.
How to Make Refrigerator Sweet Pickled Radish
Follow these simple steps to prepare this delicious Refrigerator Sweet Pickled Radish:
Step 1: Prepare the Brine
In a medium-sized pot, combine the water, white vinegar, sugar, and salt. Bring this mixture to a boil while stirring gently to ensure the sugar and salt dissolve completely.
Step 2: Cool the Brine
Once the brine has reached a boil, remove it from the heat and set it aside to cool. You want it to reach room temperature because no one likes scalding hot pickles.
Step 3: Slice the Radishes
While the brine cools, wash your radishes thoroughly. Using a sharp knife, slice them into thin rounds or matchsticks, depending on your preference for presentation and texture.
Step 4: Layer Ingredients in a Jar
Grab a clean mason jar with a tight-fitting lid. Begin layering your radish slices, garlic cloves, red pepper flakes, dill sprigs, and mustard seeds. Don’t worry about being too perfect; it all gets mixed up later!
Step 5: Add the Brine
Pour the cooled brine over the layered ingredients in the jar, ensuring everything is completely submerged. This is where those radishes soak up all that sweet and tangy flavor.
Step 6: Seal and Refrigerate
Seal the jar tightly and pop it into the refrigerator. The radishes will be ready to eat after 24 hours, but letting them sit longer allows the flavors to intensify.
Your Refrigerator Sweet Pickled Radish is now complete! Transfer some to a plate as a zesty side or dive right in and snack straight from the jar for a delightful crunch! Enjoy the perfect blend of flavors and the simplicity of this vibrant addition to your meals.
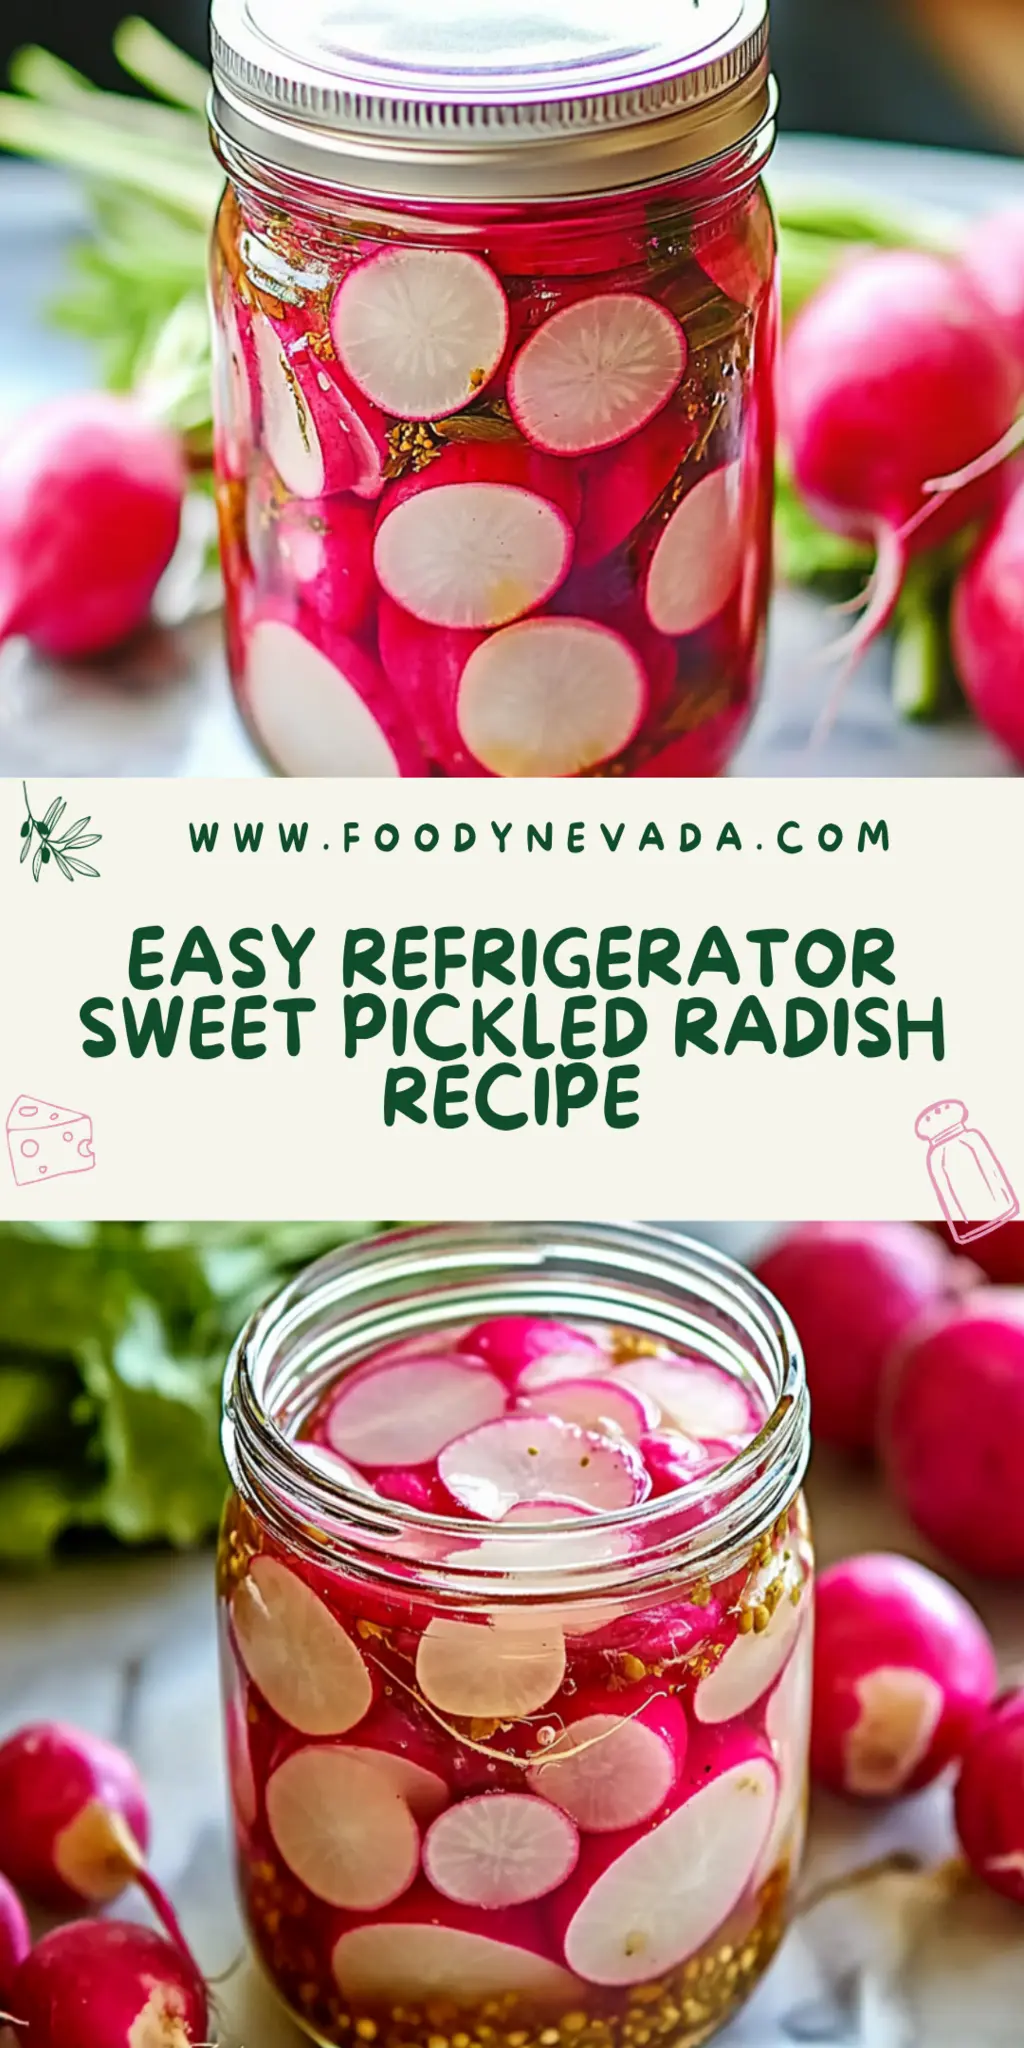
This showstopping Refrigerator Sweet Pickled Radish delivers restaurant-quality results using simple ingredients you probably already have at home. The perfect balance of textures and flavors creates an unforgettable dining experience that will have everyone asking for seconds. Picture-perfect presentation with vibrant colors makes this dish absolutely Instagram-worthy and guaranteed to impress any dinner guest. Incredibly versatile recipe that works beautifully for weeknight dinners, meal prep, special occasions, or even outdoor entertaining sessions.
Perfecting Refrigerator Sweet Pickled Radish Cooking Process
To achieve the best results, start by preparing the pickling liquid while you slice the radishes. Allow the mixture to cool before layering in the jar. This sequence ensures even flavor absorption and keeps everything fresh.
Add Your Touch to Refrigerator Sweet Pickled Radish
Feel free to customize your Refrigerator Sweet Pickled Radish by swapping the sugar for honey or adding fresh ginger for a zesty kick. You could also experiment with different herbs like thyme or basil for unique flavor profiles.
Storing & Reheating Refrigerator Sweet Pickled Radish
Store your pickled radishes in an airtight container in the fridge for up to two weeks. The flavors will deepen over time, but there’s no need to reheat—just grab and enjoy directly from the fridge!
Chef's Helpful Tips for Refrigerator Sweet Pickled Radish
- This professional-quality Refrigerator Sweet Pickled Radish relies on precise timing and temperature control to achieve restaurant-standard results consistently.
- Master the art of mise en place by prepping all ingredients beforehand, ensuring smooth execution and preventing any last-minute cooking disasters.
- The secret lies in layering flavors throughout the cooking process rather than seasoning only at the end for maximum depth.
- Pro tip: let the finished dish rest for optimal texture and flavor development before serving to hungry guests waiting eagerly.
Making this dish brings back memories of a summer barbecue when my friends devoured every last jar, begging for the recipe. They couldn’t believe it was so quick and easy to make!
FAQs About Refrigerator Sweet Pickled Radish
What is Refrigerator Sweet Pickled Radish?
Refrigerator Sweet Pickled Radish is a delightful side dish or snack made by soaking fresh radishes in a sweet and tangy pickling solution. The basic ingredients include water, white vinegar, sugar, and salt, combined with spices like garlic, dill, and red pepper flakes for added flavor. This recipe offers a quick and easy way to preserve radishes, enhancing their natural crunchiness while delivering a burst of flavor. Perfectly suited for any occasion, these pickled radishes can brighten up your meals in just a short time.
How long can I store Refrigerator Sweet Pickled Radish?
You can store your Refrigerator Sweet Pickled Radish in an airtight container in the refrigerator for up to two weeks. As they sit, the flavors will develop and deepen, making them even more delicious over time. Just remember that the texture may soften a bit, but they will still be tasty. When you’re ready to enjoy them, simply grab a fork and dig in—there’s no need to heat them beforehand!
Can I customize my Refrigerator Sweet Pickled Radish?
Absolutely! One of the joys of making Refrigerator Sweet Pickled Radish is how versatile the recipe is. You can swap out sugar for honey for a natural sweetness. For an extra zing, consider adding freshly grated ginger or even some thinly sliced jalapeños if you like a spicy kick. Experimenting with herbs such as thyme or basil can create unique flavors that suit your personal taste. Get creative and make this dish your own!
What dishes pair well with Refrigerator Sweet Pickled Radish?
Refrigerator Sweet Pickled Radish makes a fantastic accompaniment to a wide range of dishes. They pair beautifully with grilled meats, tacos, or sandwiches, adding a refreshing crunch to your plate. You can also toss them into salads for a pop of color and flavor. Alternatively, serve them as a zesty appetizer with crackers and cheese for a delightful snack that’s sure to impress your friends and family!
Conclusion for Refrigerator Sweet Pickled Radish
In conclusion, Refrigerator Sweet Pickled Radish is a simple yet flavorful way to transform fresh radishes into a tangy treat. With its easy preparation and customizable options, it’s a fantastic recipe for anyone looking to elevate their meals. Just remember to store them properly in the refrigerator and enjoy all the delightful and vibrant flavors they’ll offer. Try out this delightful dish today, and experience the joy of homemade Refrigerator Sweet Pickled Radish!
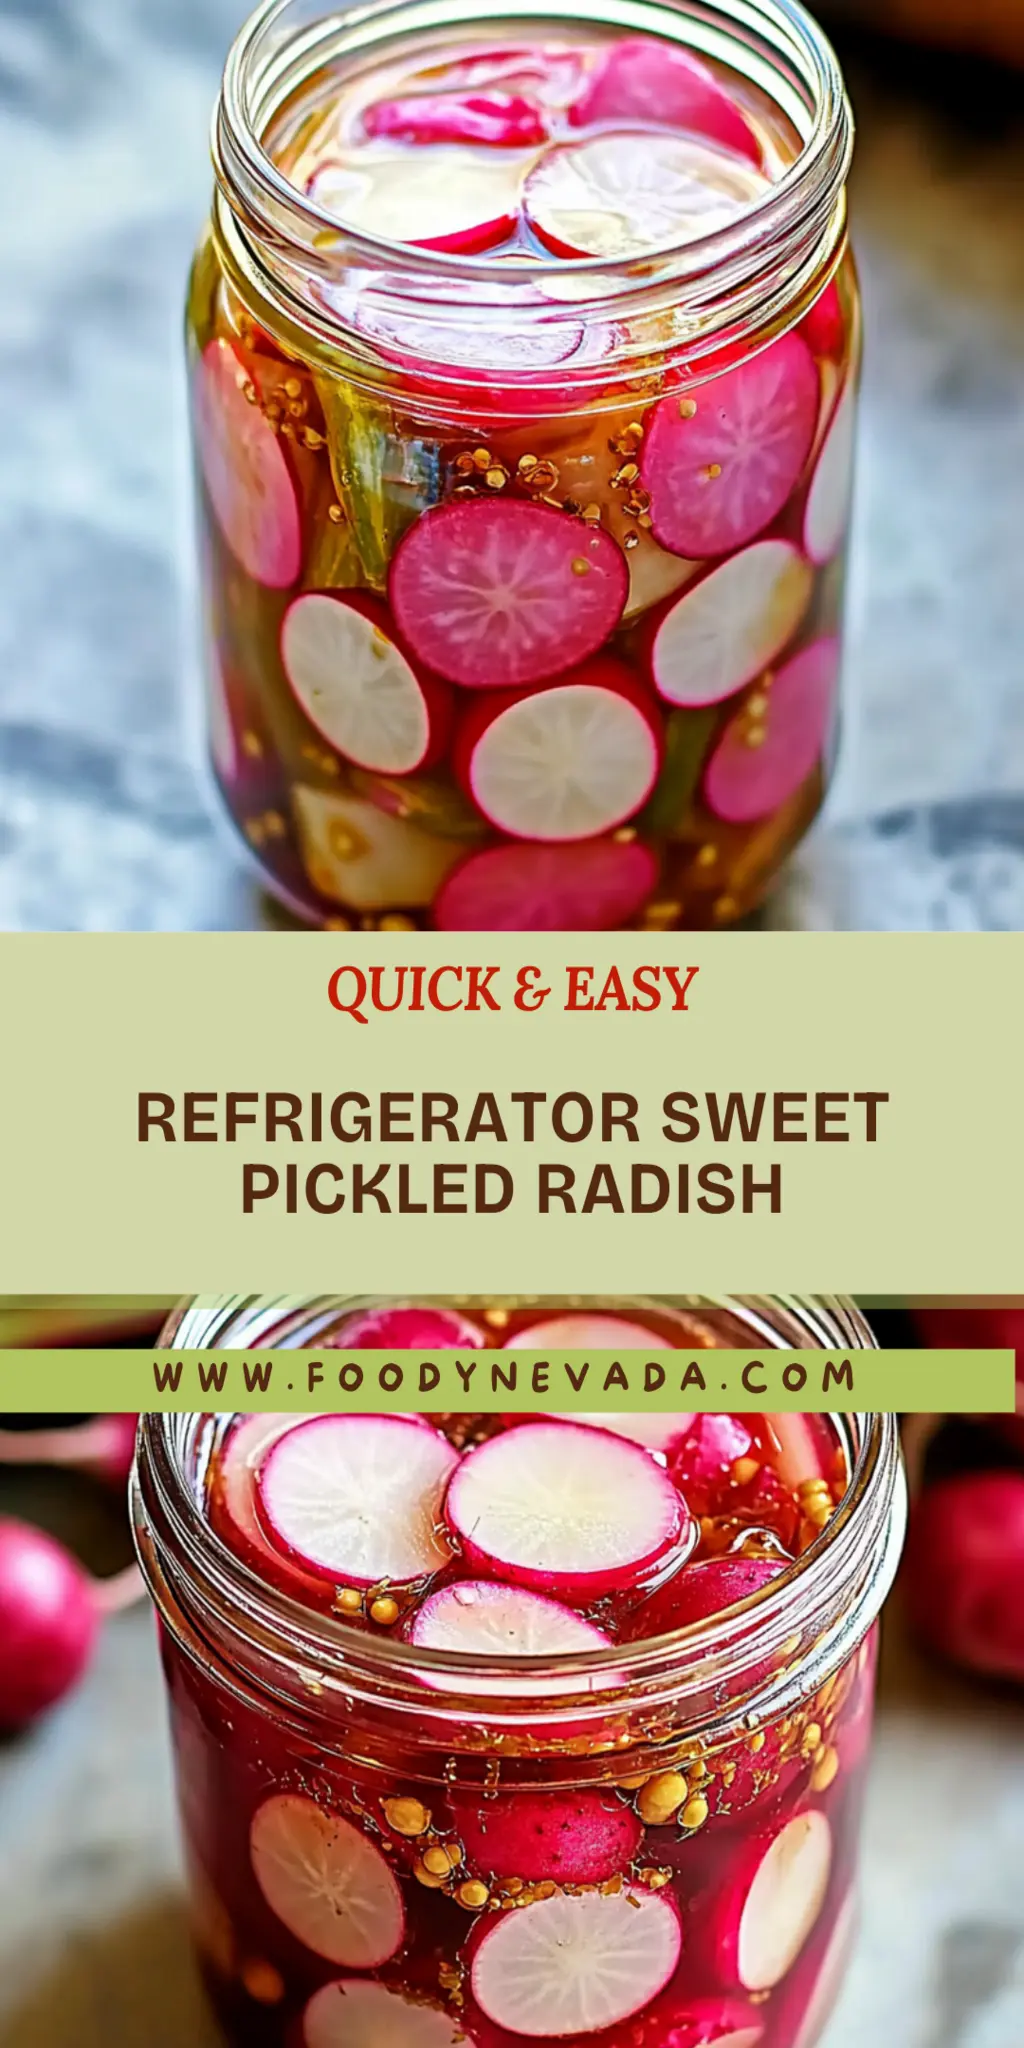
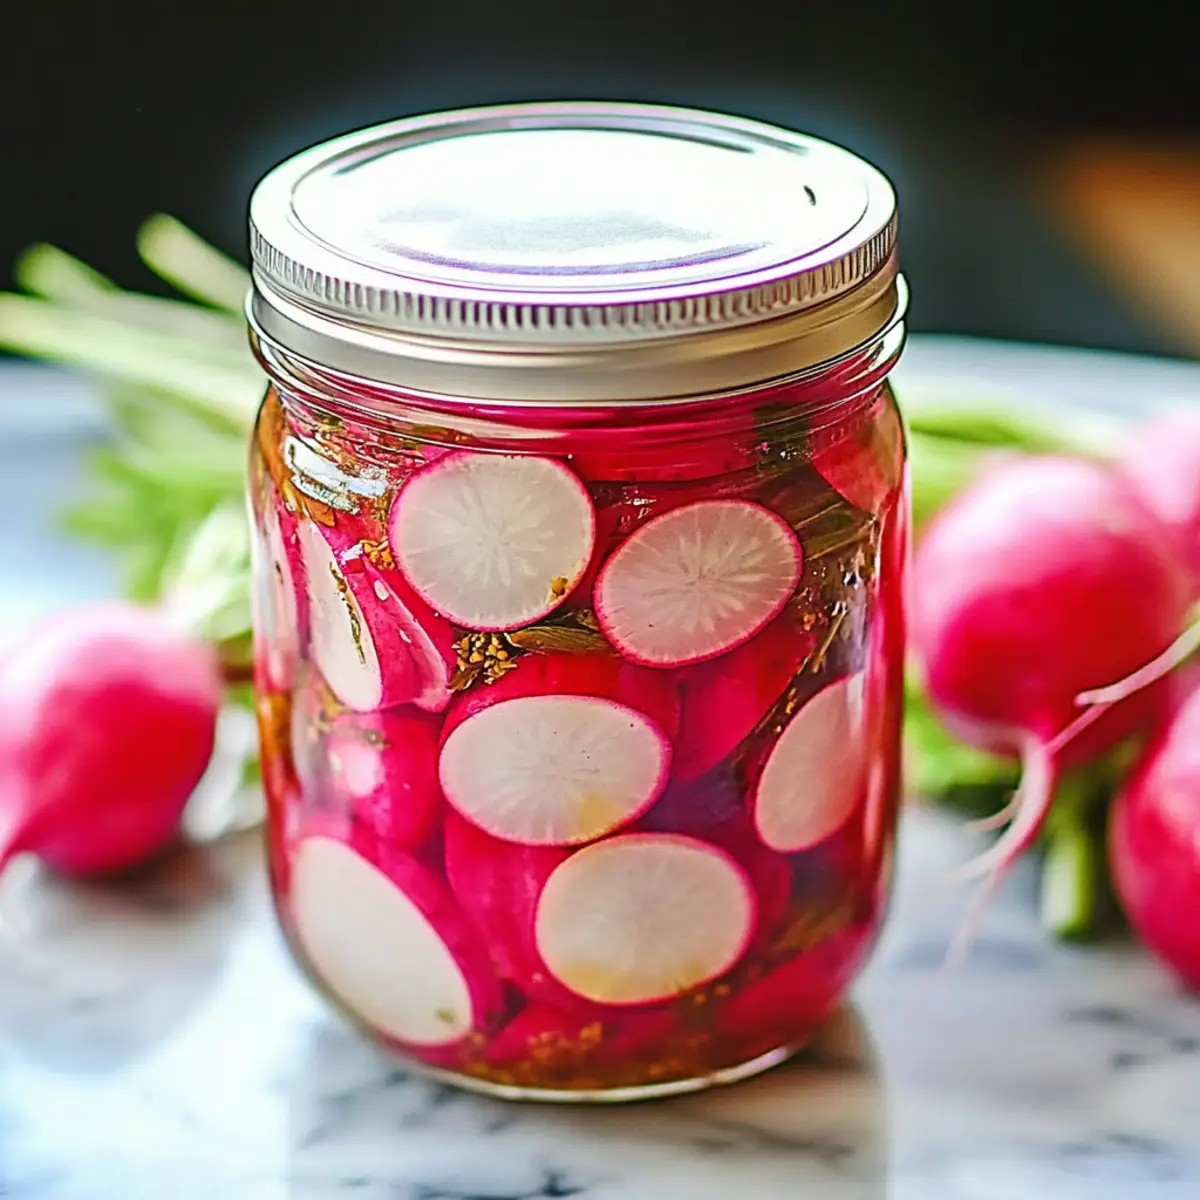
Refrigerator Sweet Pickled Radish
Ingredients
Equipment
Method
- In a pot, combine the water, white vinegar, sugar, and salt. Bring to a boil.
- Remove from heat and let the mixture cool to room temperature.
- While the pickling liquid cools, wash and slice the radishes.
- In a clean jar, layer the radishes, garlic, red pepper flakes, dill, and mustard seeds.
- Pour the cooled pickling liquid over the layered ingredients, ensuring they are fully submerged.
- Seal the jar and refrigerate for at least 24 hours before consuming.