
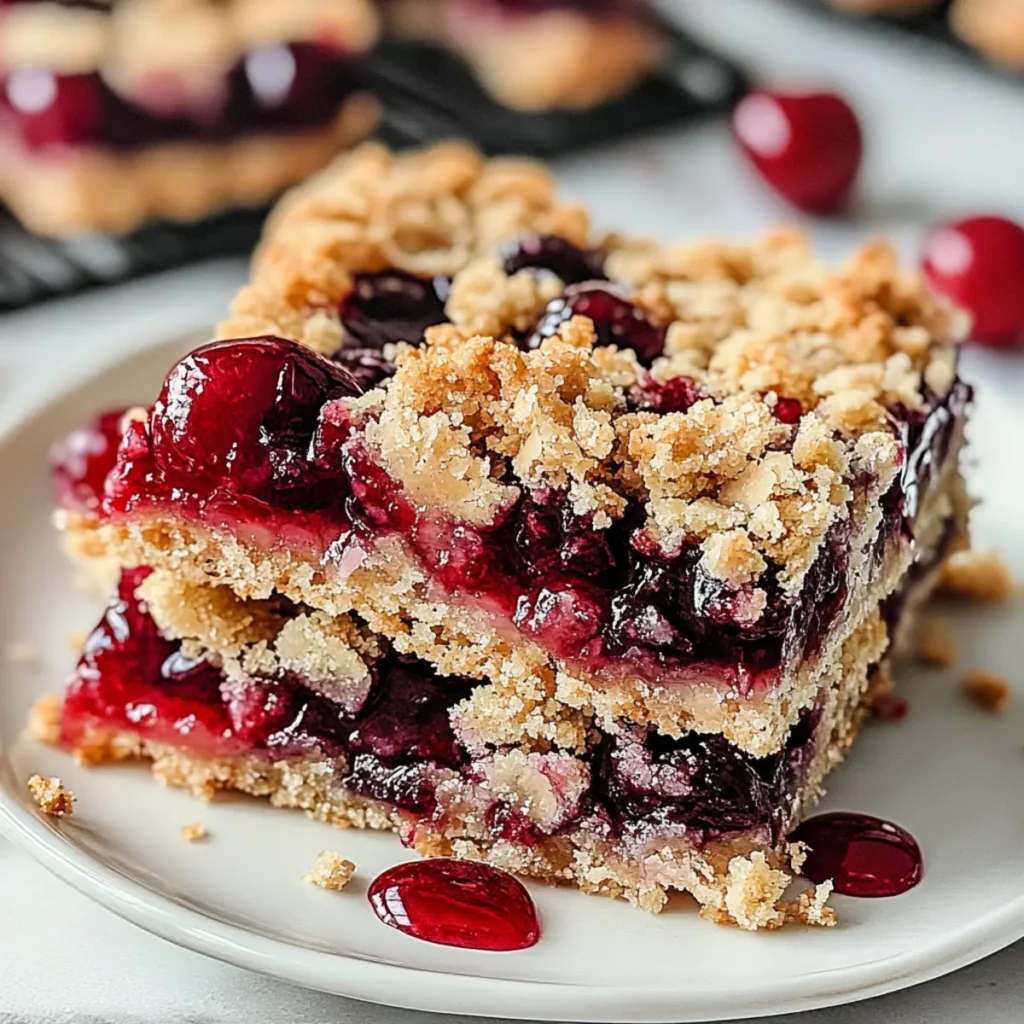
The moment you sink your teeth into a Cherry Crumble Bar, you’re transported to a world where sweet meets tart and crunchy meets chewy, leaving your taste buds dancing with joy. The aroma wafting through your kitchen as these beauties bake will have your family wondering when dinner transformed into a dessert extravaganza.
Now, if you’re anything like me, you have fond memories centered around dessert, don’t you? Picture this: a sunny afternoon with laughter in the air, friends gathered around, and a plate piled high with Cherry Crumble Bars making their grand entrance. This is a treat that not only pleases the palate but also sparks joy and nostalgia. Perfect for gatherings, or simply treating yourself after a long day, these bars promise to bring that smile to your face.
Why You'll Love This Cherry Crumble Bars
- This incredible Cherry Crumble Bars transforms simple everyday ingredients into restaurant-quality flavors that will blow your mind completely.
- Foolproof recipe techniques guarantee perfect results every single time, making even novice cooks feel like professional chefs instantly.
- Stunning visual appeal with gorgeous colors and mouthwatering aromas creates the ultimate Instagram-worthy dish for any special occasion.
- Endlessly adaptable for different dietary needs while working beautifully for meal prep, date nights, or entertaining large groups effortlessly.
Ingredients for Cherry Crumble Bars
Here’s what you’ll need to make this delicious Cherry Crumble Bars:
2 cups fresh cherries – Pitted and sliced, these juicy jewels give our bars their delightful flavor and vibrant color. Feel free to substitute with frozen cherries if fresh ones are out of season.
1/2 cup granulated sugar – This sweetener helps draw out the cherries’ natural juices, creating a luscious filling that pairs perfectly with our crumble crust.
1 cup all-purpose flour – Essential for the crumble topping, the flour adds structure and a light, crumbly texture.
1 cup old-fashioned oats – These whole oats provide a hearty chew and nutty flavor, transforming our crumble into something special.
1/2 cup brown sugar – This adds a deep, caramel flavor that elevates the sweetness and contributes moisture to the crumble.
1/2 teaspoon baking powder – A little leavening magic that helps our bars rise just the right amount.
1/2 cup unsalted butter, melted – The key to achieving our perfect buttery crumble – use unsalted to control the flavors.
1 teaspoon vanilla extract – This versatile flavor enhancer rounds out the sweetness and brings warmth to our bars.
How to Make Cherry Crumble Bars
Follow these simple steps to prepare this delicious Cherry Crumble Bars:
Step 1: Preheat the Oven
Preheat your oven to 350°F (175°C) and line an 8×8-inch baking dish with parchment paper for easy removal later. Trust me, no one wants crumble stuck to the bottom of a pan.
Step 2: Prepare the Cherries
In a large mixing bowl, toss the fresh, pitted, and sliced cherries with 1/2 cup of granulated sugar. Let them sit for about 10 minutes, so they can release their juices and sweeten up beautifully.
Step 3: Combine Crust Ingredients
In another bowl, combine the all-purpose flour, old-fashioned oats, brown sugar, and baking powder. Mix until well combined, then pour in the melted butter and vanilla extract. Blend until the mixture becomes crumbly, like sandy beach vibes but for your taste buds.
Step 4: Layer the Crumble
Take half of the crumble mixture and press it firmly into the bottom of your prepared baking dish, creating a solid base. Spread the cherry mixture over the crust evenly, then sprinkle the remaining crumble on top, covering those luscious cherries like a cozy blanket.
Step 5: Bake and Chill
Pop the dish in the oven and bake for 30-35 minutes or until the top is golden brown and your kitchen smells like heaven. Once baked, remove it from the oven and allow it to cool completely. This step is crucial, as cutting into hot bars can be a messy (and teary-eyed) endeavor.
Step 6: Slice and Serve
Once cooled, carefully lift the bars out of the pan using the edges of the parchment paper. Slice them into squares or rectangles (whichever shape suits your fancy) and serve them up. These bars are perfect on their own, but a scoop of vanilla ice cream on top is a game changer, trust me!
In every bite of these Cherry Crumble Bars, you’ll discover a blend of flavors and textures that will have your family asking for more. With a sweet cherry filling, a buttery crumble topping, and the warm embrace of nostalgia in every square, this recipe is not just a dessert; it’s a home-cooked hug on a plate. So go ahead, treat yourself and your loved ones – because life is too short to skip dessert!
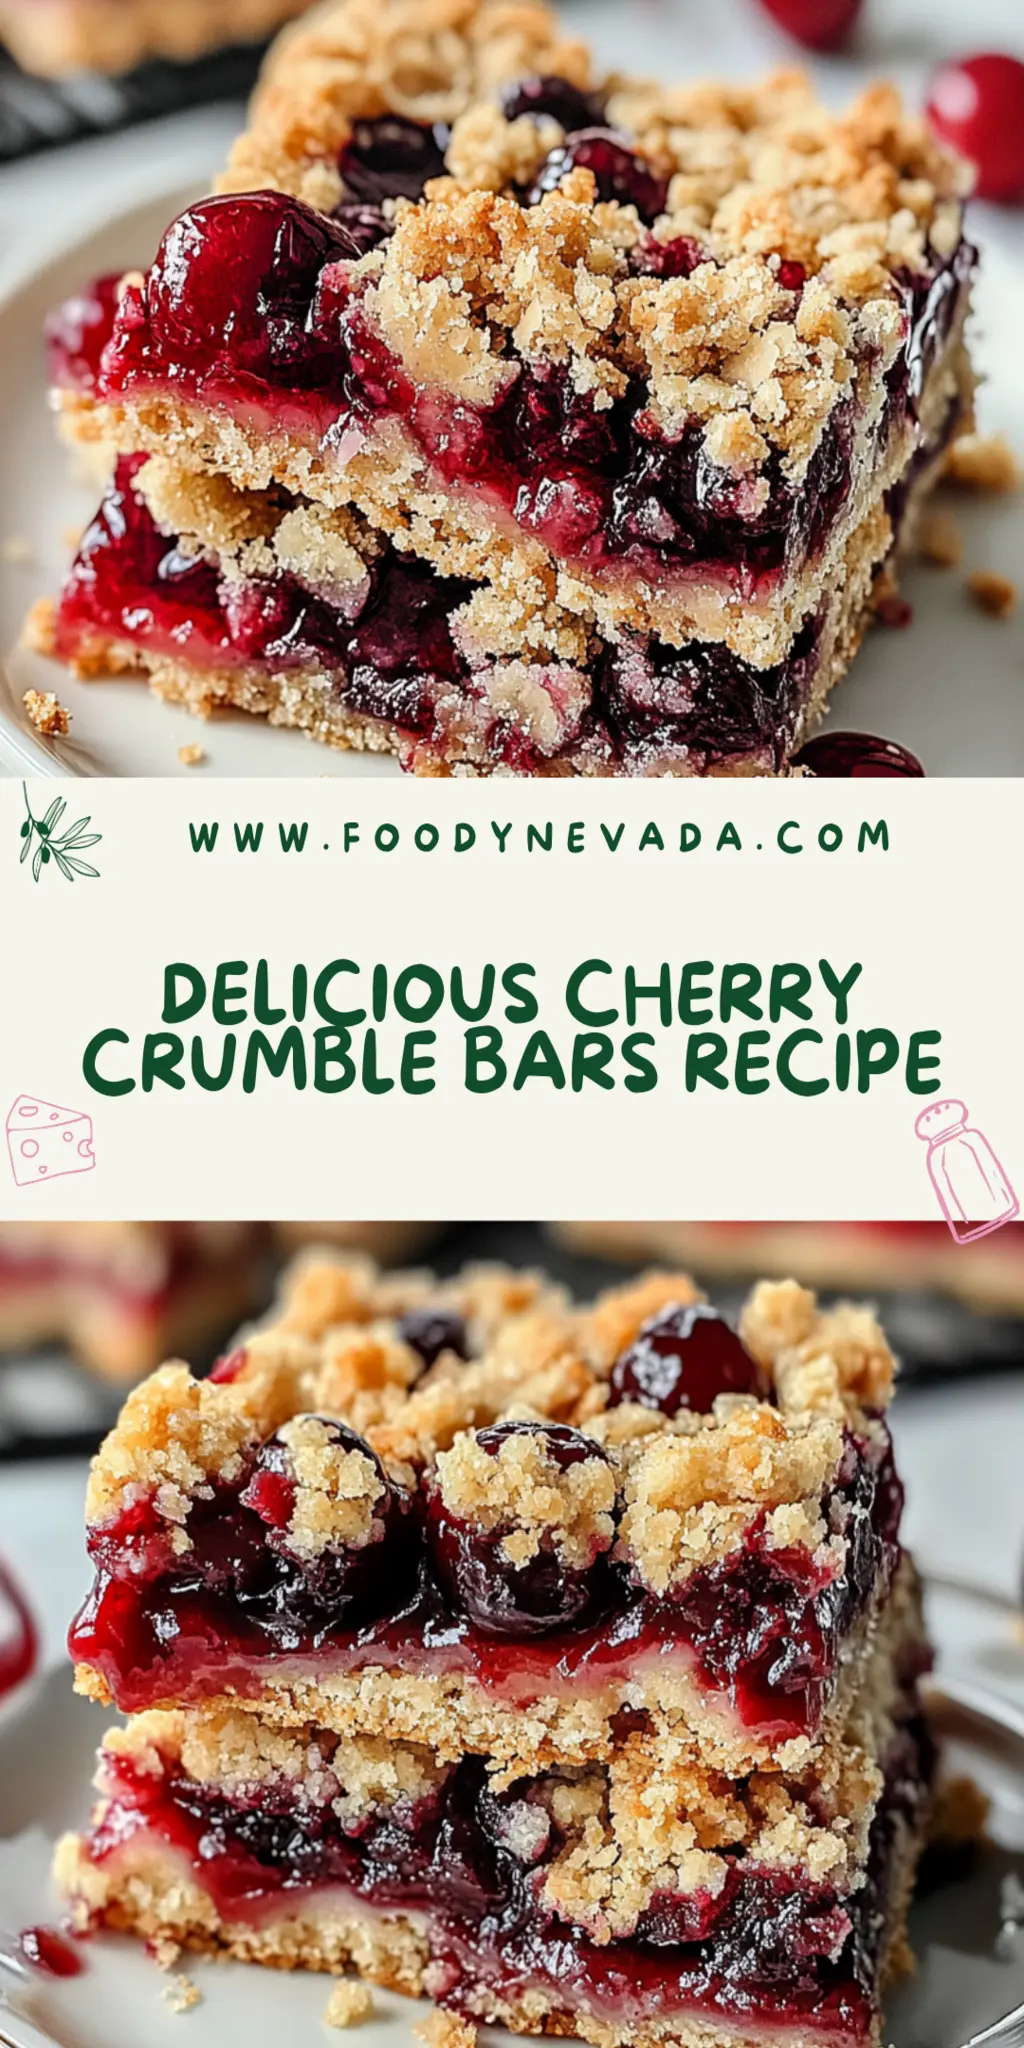
You Must Know About Cherry Crumble Bars
- This showstopping Cherry Crumble Bars delivers restaurant-quality results using simple ingredients you probably already have at home.
- The perfect balance of textures and flavors creates an unforgettable dining experience that will have everyone asking for seconds.
- Picture-perfect presentation with vibrant colors makes this dish absolutely Instagram-worthy and guaranteed to impress any dinner guest.
- Incredibly versatile recipe that works beautifully for weeknight dinners, meal prep, special occasions, or even outdoor entertaining sessions.
Perfecting Cherry Crumble Bars Cooking Process
To achieve the best results with your Cherry Crumble Bars, start by prepping your ingredients. While the cherries rest with sugar, mix the dry ingredients and butter. This sequence ensures even flavor distribution and saves time, leaving you free to marvel at your creations.
Add Your Touch to Cherry Crumble Bars
Feel free to personalize your Cherry Crumble Bars by swapping fresh cherries for other fruits like blueberries or peaches. You can also add nuts for crunch or a sprinkle of cinnamon for an extra flavor kick. The sky’s the limit!
Storing & Reheating Cherry Crumble Bars
Store your Cherry Crumble Bars in an airtight container at room temperature for up to three days. For longer storage, refrigerate them for up to a week. To reheat, warm in the oven at 300°F for 10-15 minutes, restoring their delicious texture.
Chef's Helpful Tips for Cherry Crumble Bars
- This professional-quality Cherry Crumble Bars relies on precise timing and temperature control to achieve restaurant-standard results consistently.
- Master the art of mise en place by prepping all ingredients beforehand, ensuring smooth execution and preventing any last-minute cooking disasters.
- The secret lies in layering flavors throughout the cooking process rather than seasoning only at the end for maximum depth.
- Pro tip: let the finished dish rest for optimal texture and flavor development before serving to hungry guests waiting eagerly.
Sharing my first attempt at these Cherry Crumble Bars always brings a smile. I surprised my friends at a picnic, and their joyful faces illuminated the outdoor setting. Their enthusiastic compliments were a heartwarming reminder of why I love to cook.
FAQs About Cherry Crumble Bars
What are Cherry Crumble Bars?
Cherry Crumble Bars are a delightful dessert featuring layers of tart, juicy cherries nestled between a buttery, crumbly crust. This easy-to-make treat combines the rich flavors of fresh cherries with a sweet oat topping, creating a perfect balance of texture and taste. They serve as an ideal sweet snack or a comforting dessert, often enjoyed warm or chilled. These bars are both visually appealing and delicious, making them a hit at gatherings, potlucks, or simply for enjoying at home with a cup of coffee.
How do I make my Cherry Crumble Bars extra flavorful?
To enhance the flavor of your Cherry Crumble Bars, consider adding a splash of lemon juice or zest to the cherries before baking. You can also incorporate spices such as cinnamon or nutmeg into the crumble topping for a richer taste experience. Additionally, adding a handful of chopped nuts like almonds or pecans to the oat mixture can provide an irresistible crunch. Feel free to adjust the sweetness by varying the amount of sugar based on the natural sweetness of your cherries.
Can I substitute the cherries in Cherry Crumble Bars?
Absolutely! While cherries are the star of this recipe, you can easily substitute them with other fruits. Blueberries, raspberries, or sliced peaches work wonderfully in this crumble bar recipe. Each fruit brings its unique flavor, creating a different yet equally delicious dessert. If you’re feeling adventurous, you could even mix fruits for a delightful medley of flavors. Just keep in mind that adjustment in sugar might be necessary, depending on the sweetness of the fruits you choose.
How should I store my Cherry Crumble Bars?
To keep your Cherry Crumble Bars fresh, store them in an airtight container at room temperature for up to three days. If you wish to keep them for longer, refrigerate them for up to a week. When it’s time to enjoy them again, simply reheat in the oven at 300°F for about 10-15 minutes to restore their lovely texture and flavor. This makes them perfect for meal prep or just having a sweet treat ready to go whenever you crave something delicious.
Conclusion for Cherry Crumble Bars
In conclusion, Cherry Crumble Bars are not just a treat; they’re a delightful experience that combines the sweetness of cherries with a crunchy oat topping. Easy to make and addictive, they work wonderfully for any occasion, from casual weekend snacks to special gatherings. With the versatility of this recipe, feel free to experiment with different fruits and flavors. Whether you enjoy them warm or cold, these Cherry Crumble Bars are sure to impress everyone who takes a bite.
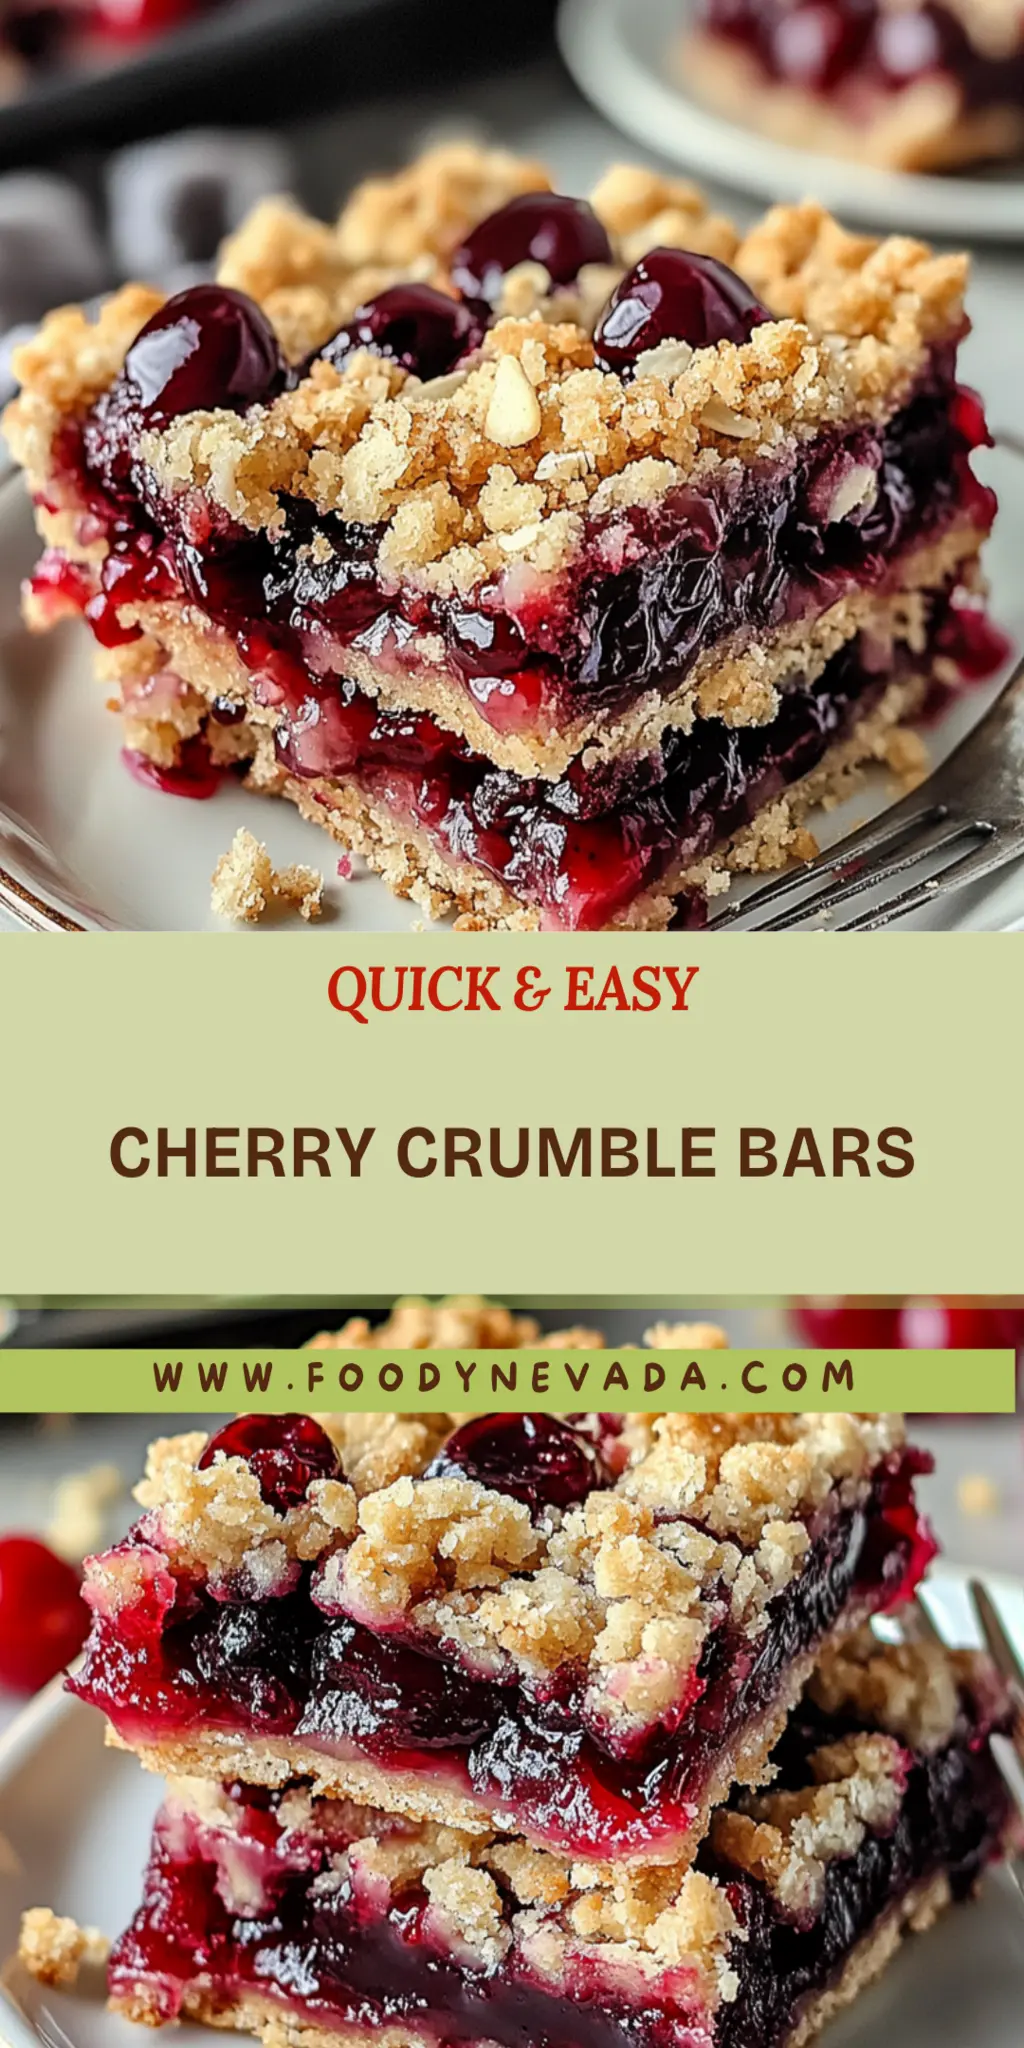
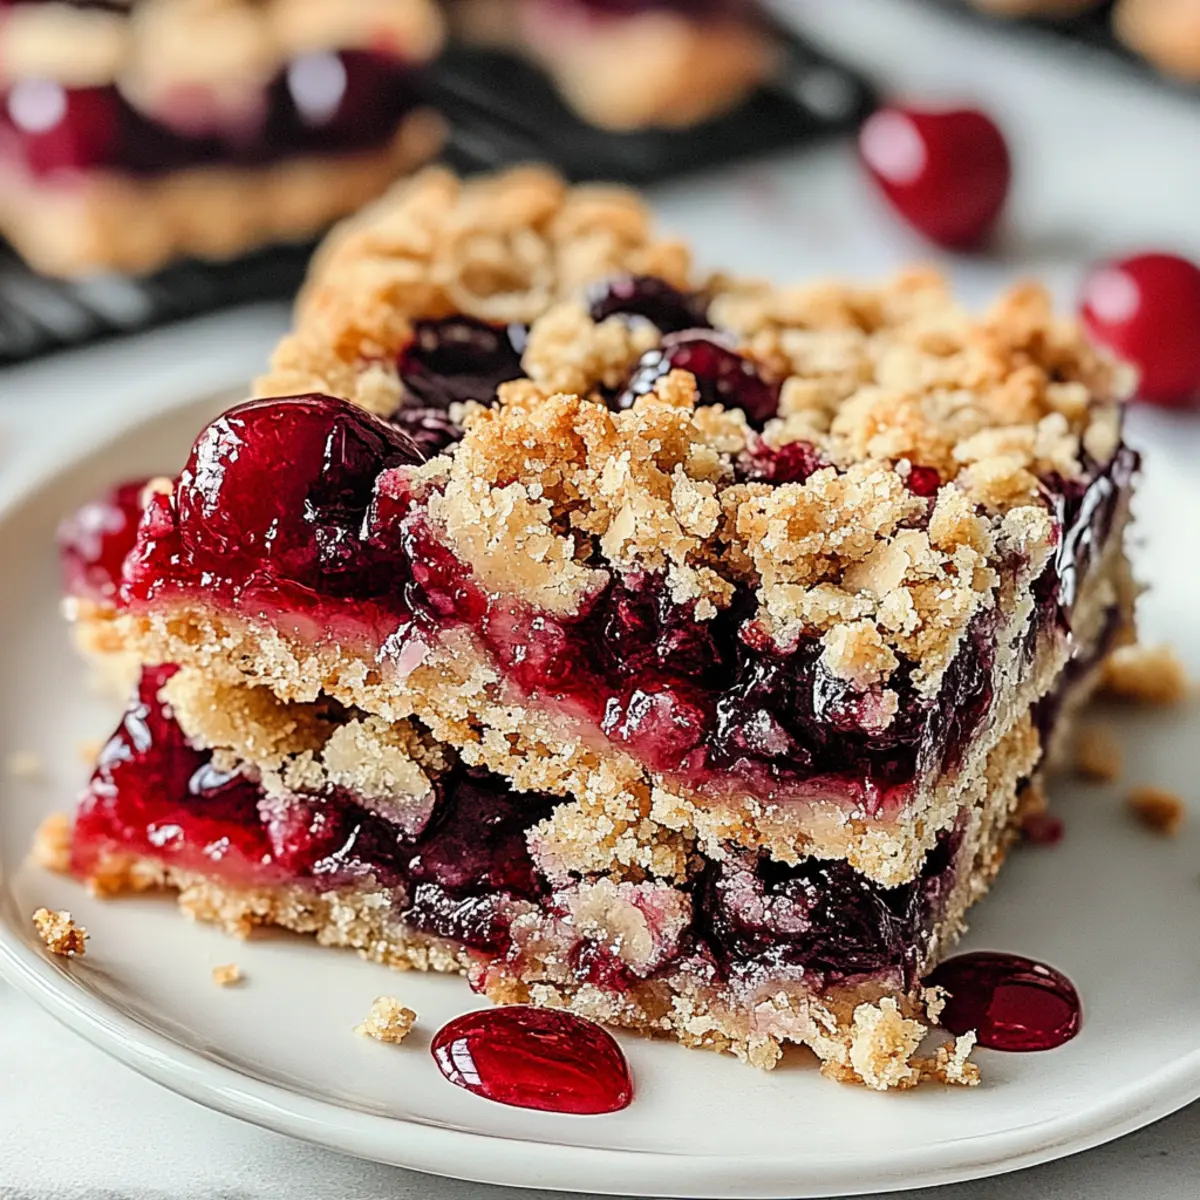
Delicious Cherry Crumble Bars Recipe Easy to Make at Home
Ingredients
Equipment
Method
- Preheat your oven to 350°F (175°C) and line an 8x8-inch baking dish with parchment paper.
- In a bowl, mix cherries with 1/2 cup granulated sugar and let sit while preparing the crust.
- In another bowl, combine flour, oats, brown sugar, and baking powder. Add melted butter and mix until crumbly.
- Press half of the oat mixture into the prepared dish. Layer with cherries and top with remaining crumble mixture.
- Bake for 30-35 minutes or until golden brown. Allow to cool completely before slicing.