
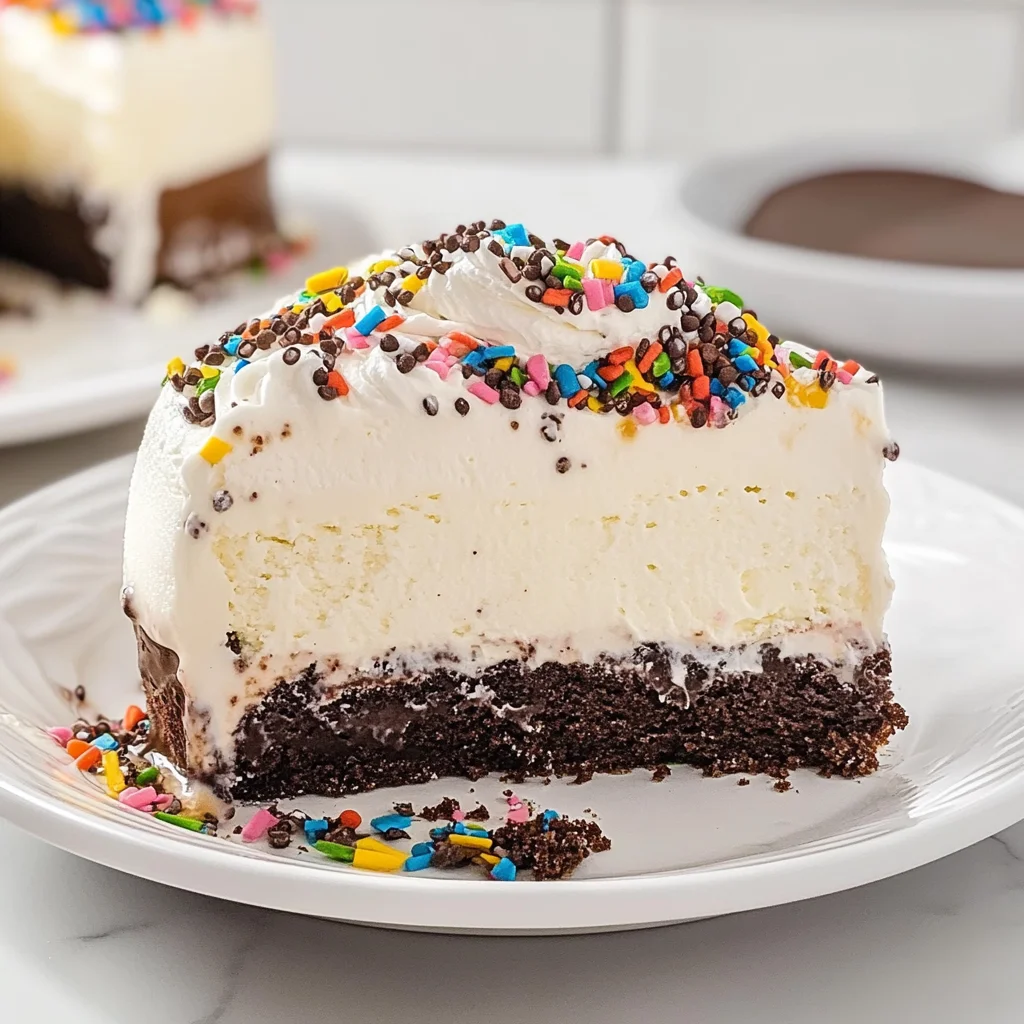
Picture this: a decadent slice of Dairy Queen ice cream cake, where velvety chocolate and creamy vanilla mingle in perfect harmony, drizzled with rich fudge that melts in your mouth. The contrast of the crunchy cookie crumb crust adds a delightful texture, making each bite an irresistible blend of flavors that dance on your palate.
Every celebration deserves a showstopper, and this cake is the ultimate crowd-pleaser! I still remember the joy on my cousin’s face as we surprised her with this sweet masterpiece at her birthday party, where laughter and happy tears filled the air. Whether it’s a birthday bash or a family gathering, this Dairy Queen ice cream cake promises to elevate any occasion and leave everyone craving just one more slice.
Why Is dairy queen ice cream cake So Irresistibly Good?
Delicious Layers of creamy vanilla and rich chocolate ice cream create a flavor explosion that will leave everyone wanting more.
Decadent Fudge sauce adds a luscious touch between the layers, making every bite a delight.
Easy to Make with just 30 minutes of prep time, this recipe fits seamlessly into any celebration.
Crowd-Pleasing and visually stunning, it’s perfect for birthdays, holidays, or any festive occasion!
Versatile Options allow you to customize the toppings—think fruits or nuts—to suit your guests’ tastes!
dairy queen ice cream cake Ingredients
For the Crust
- 2 cups chocolate cookie crumbs – These provide a rich, chocolaty base that’s perfectly crunchy for your cake.
- 1/2 cup unsalted butter (melted) – This binds the cookie crumbs together, giving the crust a delightful texture.
For the Ice Cream Layers
- 4 cups vanilla ice cream (softened) – Choose your favorite brand for a sweet contrast with the chocolate layers.
- 4 cups chocolate ice cream (softened) – A must-have for that classic flavor reminiscent of a Dairy Queen ice cream cake.
- 1 cup chocolate fudge sauce (for layering) – Adds a luscious, gooey texture between the ice cream layers.
For the Topping
- 1 cup whipped cream (for decoration) – Light and fluffy, this makes your cake look festive and inviting.
- 1/2 cup chocolate shavings (for garnish) – These add an elegant touch and extra chocolatey goodness on top.
How to Make dairy queen ice cream cake
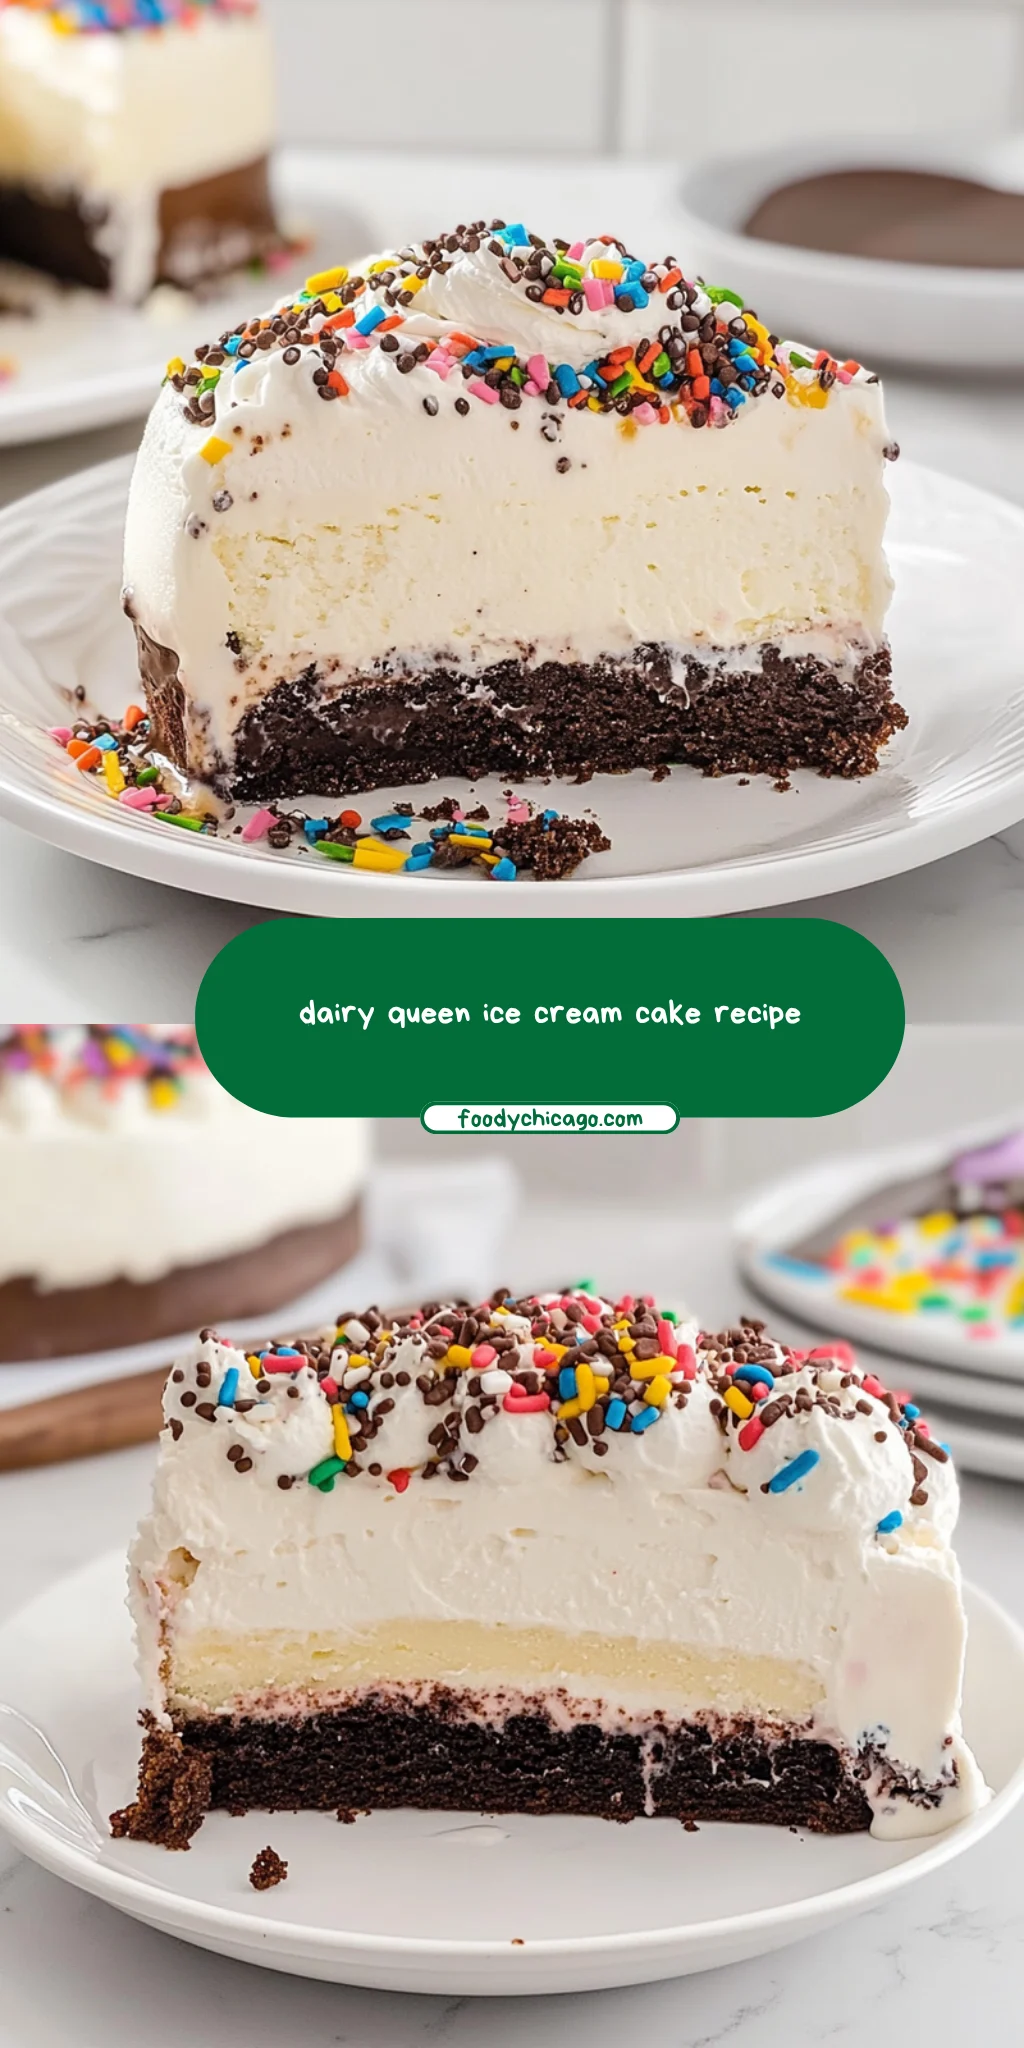
1. Combine chocolate cookie crumbs and melted butter in a mixing bowl. Mix until well combined, creating a rich, crumbly texture that will be the base of your delicious cake.
2. Press the mixture firmly into the bottom of a 9-inch springform pan to form the crust. Ensure it’s evenly distributed for a sturdy foundation that holds all the layers together.
Layer the Ice Cream:
3. Spread half of the softened vanilla ice cream over the crust, smoothing it out evenly. This creamy layer adds a delightful contrast to the chocolatey base.
4. Drizzle half of the chocolate fudge sauce over the vanilla layer, letting it cascade down and create pockets of sweetness throughout.
5. Spread the softened chocolate ice cream over the fudge layer, smoothing it out evenly. The deep, rich flavor will complement both the vanilla and fudge beautifully.
6. Top with the remaining vanilla ice cream and smooth the top for an inviting finish that promises heavenly bites ahead.
Freeze the Cake:
7. Cover the springform pan with plastic wrap and freeze for at least 4 hours or until firm. This step is crucial for achieving that perfect sliceable texture!
Decorate and Serve:
8. Remove from the freezer once firm, then carefully release from the springform pan to reveal your layered masterpiece.
9. Spread whipped cream over the top and sides of the cake, adding a fluffy touch that enhances both appearance and flavor.
10. Garnish with chocolate shavings for an extra dash of elegance before slicing and serving immediately to your eagerly waiting family!
Optional: For added flair, drizzle extra chocolate fudge sauce on individual slices before serving.
Exact quantities are listed in the recipe card below.
Pro Tips for dairy queen ice cream cake
- Crust Consistency: Ensure the chocolate cookie crumbs are finely crushed to avoid a crumbly crust. A well-mixed base will hold together better.
- Ice Cream Softening: Allow ice cream to soften just enough for easy spreading, but don’t let it melt. This keeps the layers distinct and beautiful.
- Layering Technique: When layering, spread ice cream evenly to prevent an uneven cake. Use an offset spatula for smooth surfaces.
- Freezing Tips: Cover the cake tightly with plastic wrap before freezing. This prevents ice crystals from forming on the surface of your dairy queen ice cream cake.
- Decorating Delight: Chill your whipped cream before spreading. This makes it easier to decorate and helps it hold its shape beautifully.
- Slicing Success: Warm your knife under hot water before slicing. This ensures clean cuts without squishing the layers of this delightful dessert.
How to Store and Freeze dairy queen ice cream cake
Fridge: Keep your dairy queen ice cream cake in the fridge for up to 3 days in an airtight container to maintain its creamy texture and flavor.
Freezer: For longer storage, wrap the cake tightly in plastic wrap and then foil. It can last up to 2 months in the freezer while preserving its delightful layers.
Serving: When ready to enjoy, let the cake sit at room temperature for about 10-15 minutes before slicing. This makes cutting easier and enhances the flavors.
Toppings: If you’ve added whipped cream or chocolate shavings, these are best enjoyed fresh. Consider adding them right before serving for optimal taste.
dairy queen ice cream cake Your Way
Feel free to get creative with this delightful dessert and make it uniquely yours!
- Gluten-Free: Swap chocolate cookie crumbs for gluten-free cookies or almond flour for a delicious crust. This way, everyone can enjoy a slice without worry!
- Fruit-Filled: Add layers of fresh fruit like strawberries or raspberries between the ice cream layers for a refreshing twist. The burst of fruity flavor will complement the richness beautifully.
- Nutty Crunch: Incorporate chopped nuts like walnuts or pecans into the cookie crust for added texture and flavor. The crunchiness pairs wonderfully with the creamy ice cream layers.
- Minty Fresh: Use mint chocolate chip ice cream in place of vanilla for a refreshing peppermint twist. This variation is perfect for those who love a cool, minty bite!
- Caramel Drizzle: Replace the chocolate fudge sauce with caramel sauce for a different sweet layer. The gooey caramel adds an indulgent richness that’s hard to resist.
- Coffee Kick: Use coffee-flavored ice cream instead of chocolate to give your cake a caffeine boost. It’s an excellent option for coffee lovers looking to elevate their dessert experience.
- Vegan Delight: Choose plant-based ice creams and dairy-free butter to make this treat vegan-friendly. You won’t miss out on taste while accommodating dietary preferences!
Make Ahead Options
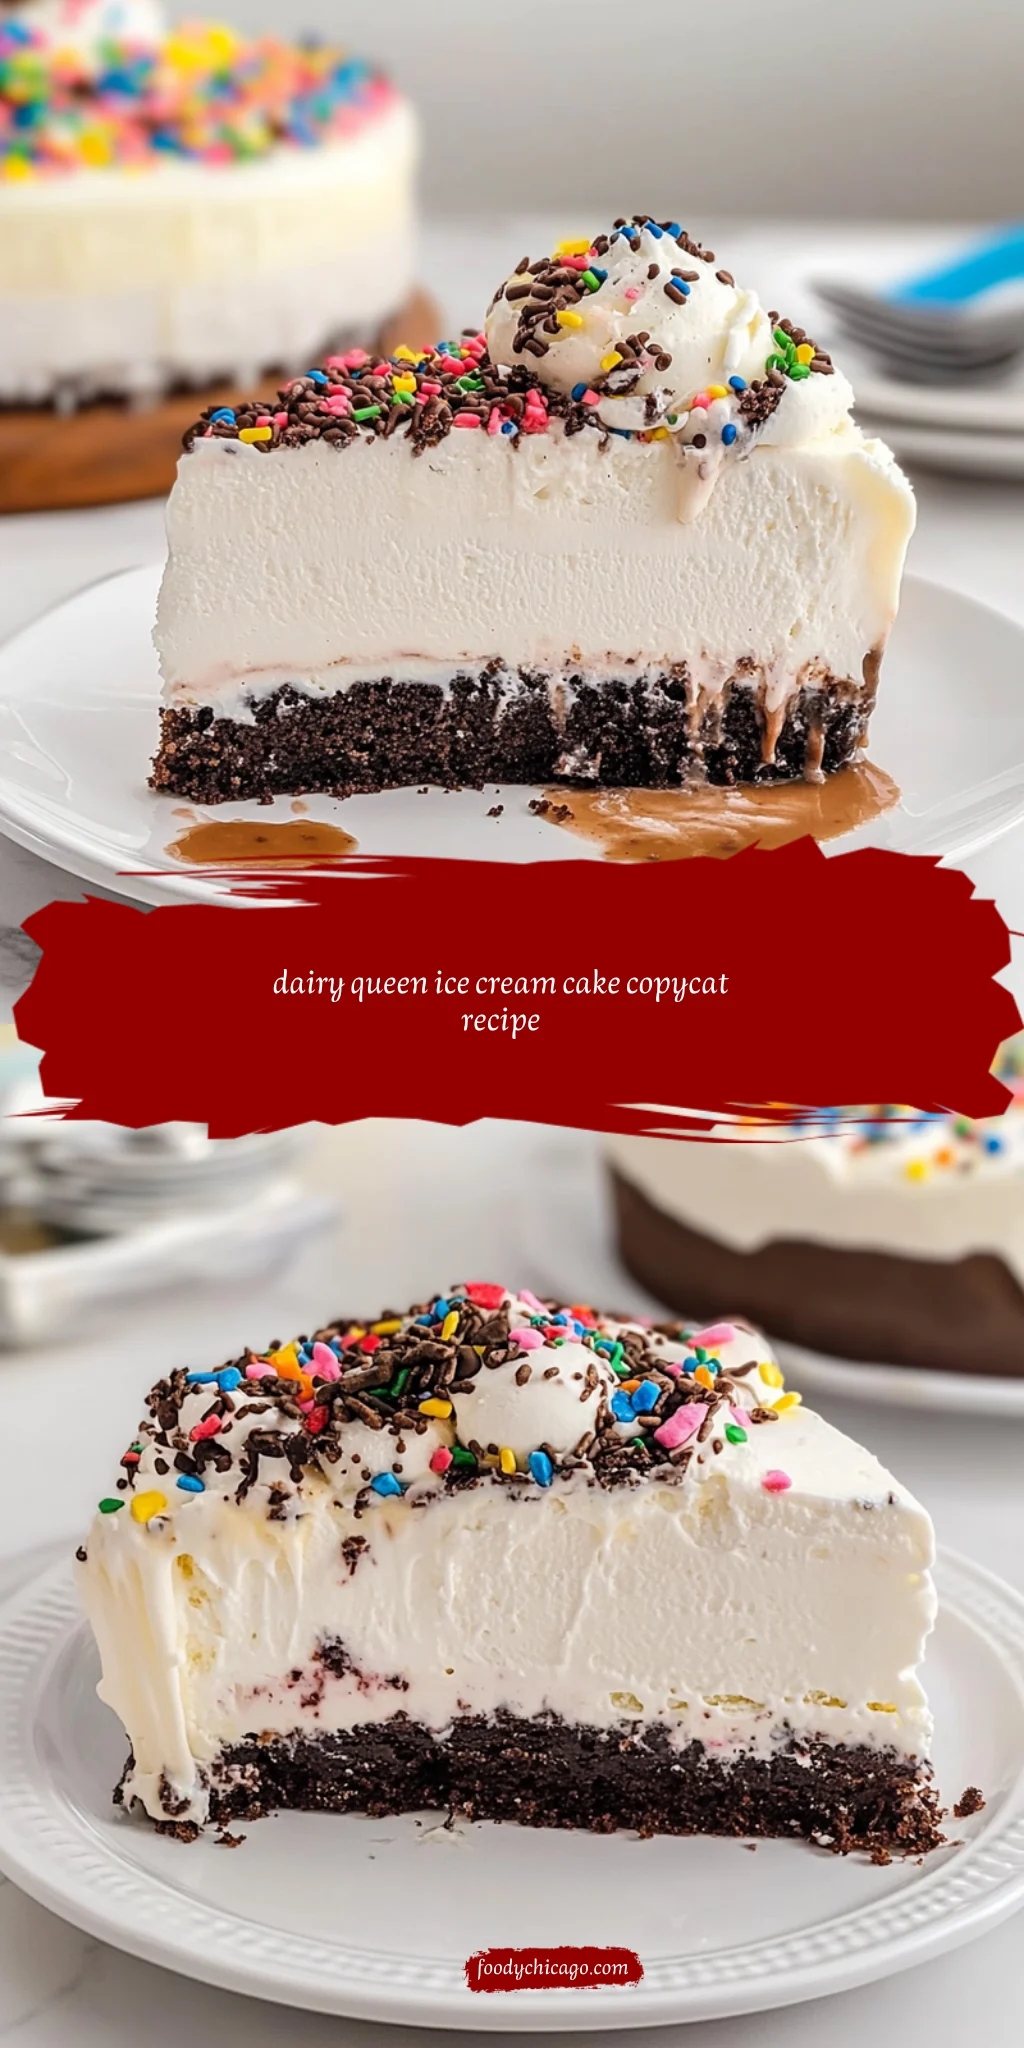
This delightful dairy queen ice cream cake is perfect for meal prep, allowing you to enjoy a festive dessert without the last-minute rush. You can prepare the crust by mixing 2 cups of chocolate cookie crumbs with 1/2 cup of melted unsalted butter and pressing it into your springform pan. Next, layer the ice creams—4 cups each of softened vanilla and chocolate—along with 1 cup of chocolate fudge sauce. These components can be prepped up to 24 hours in advance, making your celebration stress-free. Simply cover the springform pan with plastic wrap and freeze it for at least 4 hours or until firm. When you’re ready to serve, remove the cake from the freezer, decorate it with 1 cup of whipped cream and 1/2 cup of chocolate shavings, slice, and indulge in this delectable treat!
dairy queen ice cream cake Recipe FAQs
What can I use instead of chocolate cookie crumbs for the crust?
If you’re looking to switch things up, you can use graham cracker crumbs or even a combination of chocolate and vanilla wafers for the crust. Just make sure to mix it well with melted butter so it binds nicely.
How should I store leftovers of the ice cream cake?
Store any leftover slices in an airtight container or wrap them tightly in plastic wrap. This will keep them fresh in the freezer for up to two weeks. Just remember to let it sit at room temperature for a few minutes before serving again for easier slicing!
Can I make this cake ahead of time?
Absolutely! You can prepare your Dairy Queen ice cream cake up to one week in advance. Just ensure that it’s well-covered with plastic wrap or foil before freezing. The longer it stays frozen, the firmer and better it will hold its shape when served!
What if my ice cream is too hard to spread?
If your ice cream is too hard, it’s best to let it sit out at room temperature for about 5-10 minutes until it softens slightly. This makes spreading much easier and helps you achieve those beautiful, smooth layers.
Is there a dairy-free alternative for this recipe?
Yes! You can easily swap out the dairy ice creams for coconut milk or almond milk-based alternatives. Make sure to check that your cookie crumbs and fudge sauce are also dairy-free if you want a completely dairy-free version!
How many servings does this cake yield?
This delightful Dairy Queen ice cream cake serves about 8 people, making it perfect for family gatherings or small celebrations. Each slice packs around 350 calories, so it’s an indulgent treat worth sharing!
Dairy Queen Ice Cream Cake
Ingredients
Method
- In a mixing bowl, combine chocolate cookie crumbs and melted butter. Mix until well combined.
- Press the mixture firmly into the bottom of a 9-inch springform pan to form the crust.
- Spread half of the softened vanilla ice cream over the crust, smoothing it out evenly.
- Drizzle half of the chocolate fudge sauce over the vanilla layer.
- Spread the softened chocolate ice cream over the fudge layer, smoothing it out evenly.
- Top with the remaining vanilla ice cream and smooth the top.
- Cover the springform pan with plastic wrap and freeze for at least 4 hours or until firm.
- Once the cake is firm, remove it from the freezer and carefully release it from the springform pan.
- Spread whipped cream over the top and sides of the cake, then garnish with chocolate shavings.
- Slice and serve immediately.