
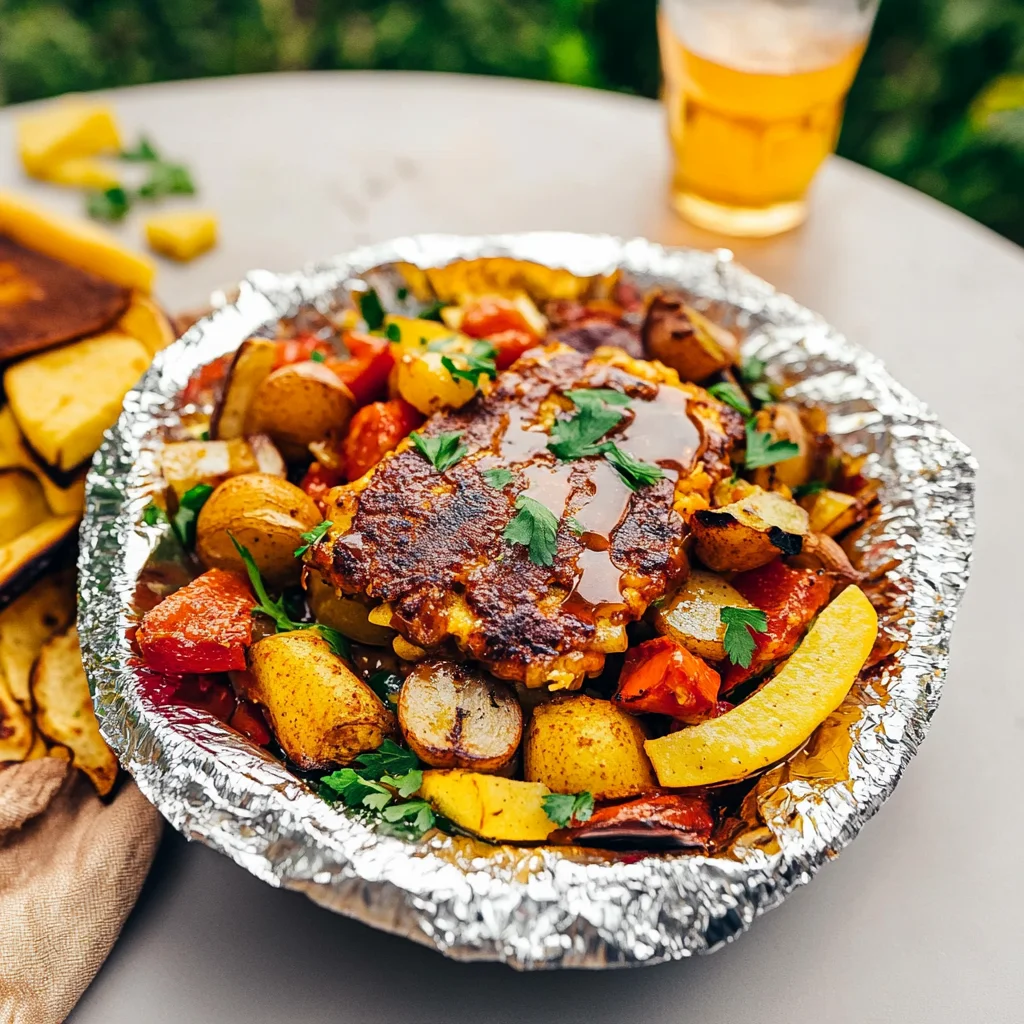
Imagine biting into a crunchy, savory camping snack that perfectly complements the crisp mountain air and crackling campfire, igniting your taste buds with every satisfying crunch. As the sun sets behind the trees and laughter fills the night, these make-ahead camping snacks turn your outdoor adventure into a gourmet experience, transforming mundane moments into delightful memories.
Reflecting on my own camping trips, I can still taste that zesty trail mix bursting with flavors—sweet dried fruits, crunchy nuts, and a hint of chocolate that made each hike feel like a treat. Perfect for sharing around the campfire or stashing in your backpack, these easy-to-make snacks promise to keep spirits high while ensuring you savor every moment under the stars. Get ready to elevate your camping experience with snacks that are not just tasty but also incredibly convenient!
Why Is camping snacks make ahead So Irresistibly Good?
Convenience is key when preparing for a camping trip, and these snacks are perfect for easy grab-and-go options. Flavorful combinations like mixed nuts, dried fruit, and dark chocolate in the trail mix satisfy your sweet and salty cravings. Nutritious ingredients such as rolled oats and kale ensure you stay energized for outdoor adventures. Plus, each recipe can be made in just 30 minutes, saving you time while packing. Lastly, these camping snacks boast crowd appeal, making them popular among friends and family alike!
camping snacks make ahead Ingredients
For the Trail Mix
- 1 cup mixed nuts (unsalted) – A hearty base that provides healthy fats and protein to keep you energized.
- 1 cup dried fruit (such as raisins or cranberries) – Adds natural sweetness and chewy texture, perfect for a quick energy boost.
- 1/2 cup dark chocolate chips – A delightful treat that satisfies your sweet tooth while offering antioxidants.
- 1/2 cup seeds (pumpkin or sunflower seeds) – Crunchy and nutritious, these seeds are great for an extra dose of vitamins and minerals.
For the Granola Bars
- 2 cups rolled oats (old-fashioned) – The foundation for chewy granola bars, offering fiber and whole grains.
- 1/2 cup honey – Acts as a natural sweetener and binder, keeping the bars together while adding flavor.
- 1/2 cup peanut butter (or almond butter) – Provides creaminess, protein, and a rich nutty taste; can be swapped for any nut butter you prefer.
- 1/4 cup brown sugar (packed) – Adds moisture and a hint of caramel flavor to your bars.
- 1 teaspoon vanilla extract – Enhances the overall flavor profile with a warm and aromatic essence.
For the Veggie Chips
- 2 cups kale (stems removed, torn into pieces) – A nutritious green that becomes crispy when baked, making it a healthy snack alternative.
- 1 tablespoon olive oil – Helps crisp up the kale while adding healthy fats; feel free to use another oil if desired.
- 1/2 teaspoon salt – Enhances flavors and balances the natural bitterness of kale for a tastier chip experience.
Step-by-Step camping snacks make ahead
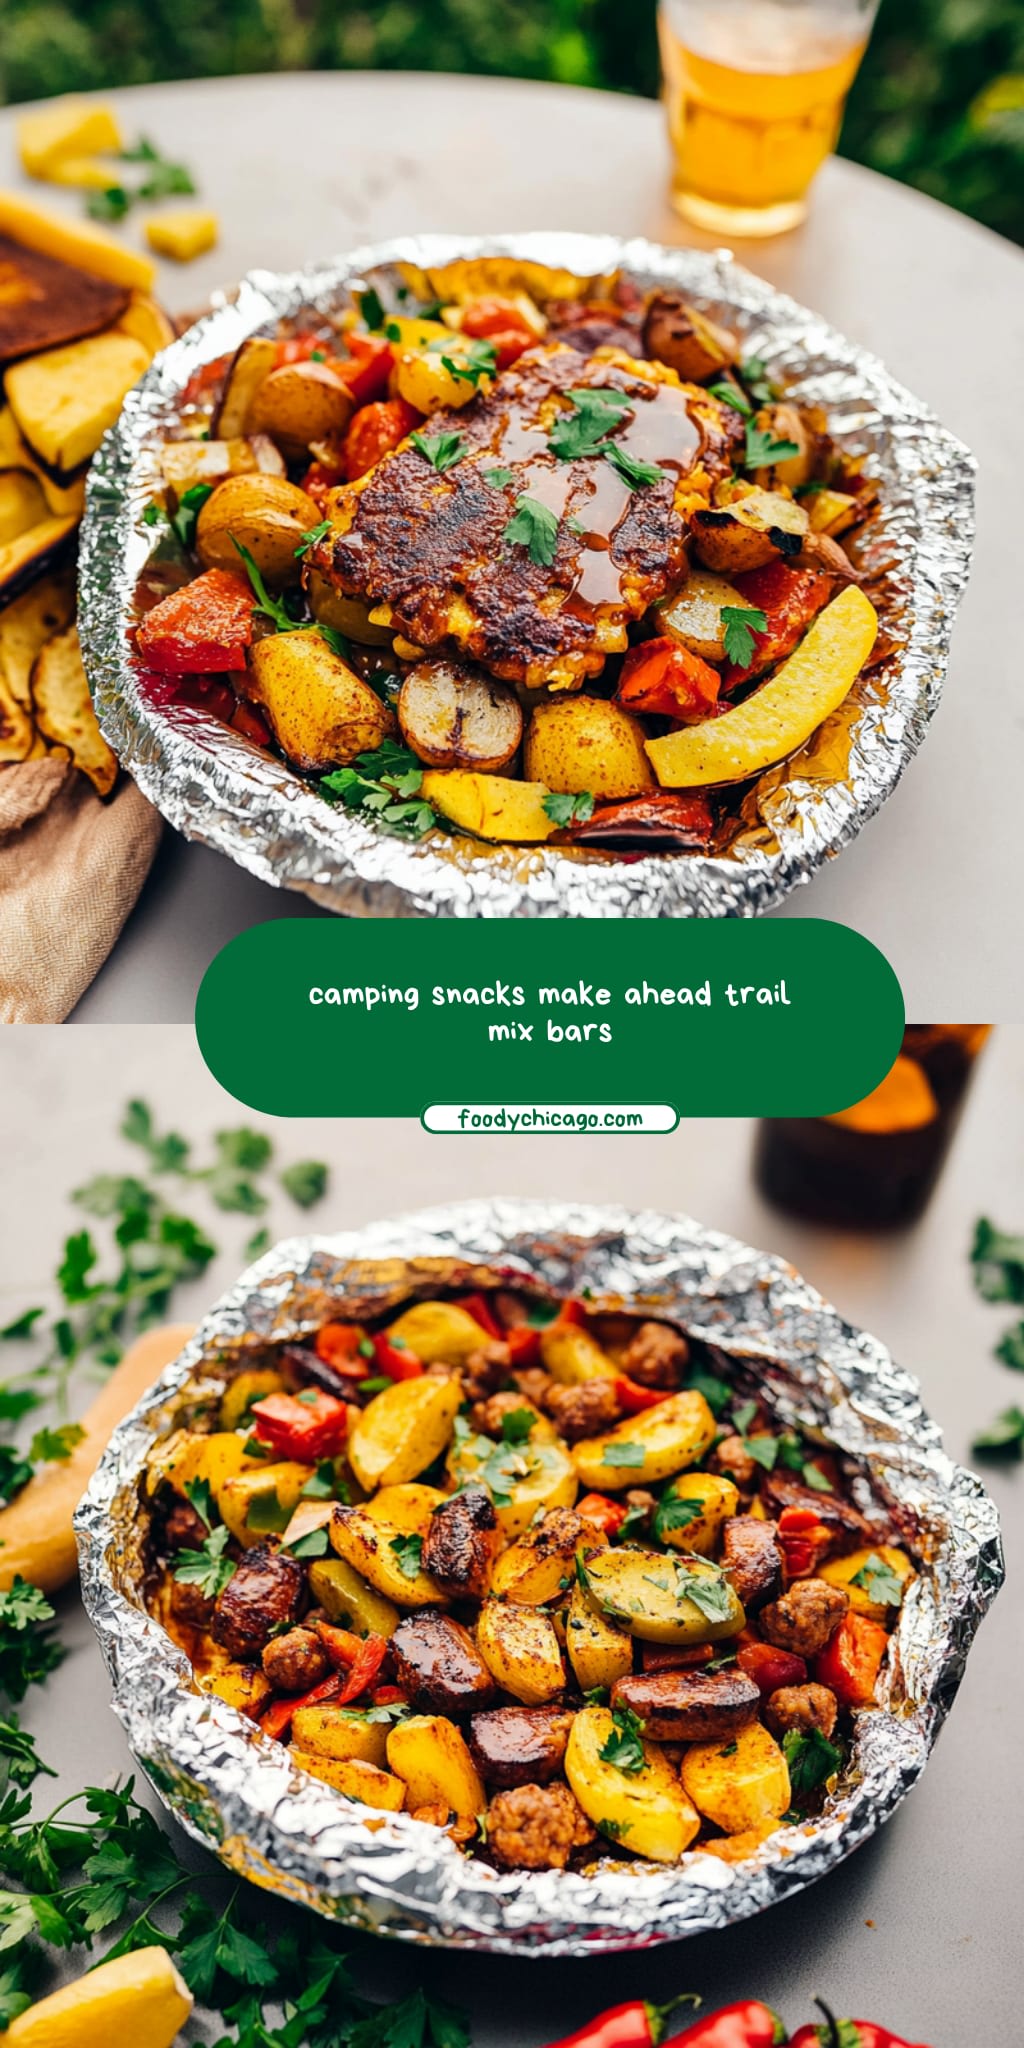
1. Combine Ingredients: In a mixing bowl, combine 1 cup of unsalted mixed nuts, 1 cup of dried fruit (like raisins or cranberries), 1/2 cup of dark chocolate chips, and 1/2 cup of pumpkin or sunflower seeds. Stir until well mixed for a delightful trail mix!
For the Granola Bars:
2. Preheat Oven: Preheat your oven to 350°F (175°C). In a separate bowl, mix together 2 cups of old-fashioned rolled oats, 1/2 cup of honey, 1/2 cup of peanut butter (or almond butter), 1/4 cup of packed brown sugar, and 1 teaspoon of vanilla extract until everything is beautifully combined.
3. Spread Mixture: Spread the mixture into a greased baking sheet and press down firmly to create an even layer. Bake in the preheated oven for about 20 minutes or until golden brown and fragrant.
4. Cool and Cut: Once baked, let the granola bars cool completely before cutting them into bars. This ensures they hold their shape while you’re enjoying your camping adventure!
For the Veggie Chips:
5. Prepare Kale: Preheat your oven again, this time to 300°F (150°C). Toss 2 cups of kale (with stems removed and torn into pieces) with 1 tablespoon of olive oil and 1/2 teaspoon of salt until each piece is lightly coated.
6. Bake Kale: Spread the kale evenly on a baking sheet and bake for about 20-25 minutes until crispy, turning halfway through for even cooking. They should turn a lovely green color and be delightfully crunchy!
Optional: Enjoy these snacks with a side of yogurt dip for an extra treat!
Exact quantities are listed in the recipe card below.
Expert Tips
- Nut Variety: Choose unsalted mixed nuts to control the saltiness and allow the sweetness of dried fruit and chocolate to shine in your camping snacks make ahead.
- Cooling Granola Bars: Let granola bars cool completely before cutting; this prevents crumbling and ensures a perfect chewy texture that’s easy to pack.
- Kale Preparation: Remove all tough stems from kale to achieve crispy veggie chips. Stems can lead to a chewy texture, which isn’t what you want while enjoying your snacks in nature.
- Bake Time Awareness: Keep an eye on your veggie chips while baking. Overbaking can lead to burnt chips, so check for crispiness around the 20-minute mark.
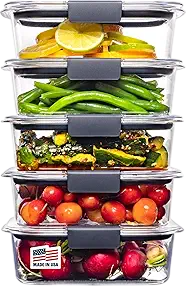
- Storage Tip: Store your trail mix and granola bars in airtight containers to maintain freshness throughout your camping trip. Avoid moisture exposure for the best results!
How to Store and Freeze camping snacks make ahead
- Room Temperature: Store trail mix and granola bars in airtight containers for up to 2 weeks. Keep them in a cool, dry place away from direct sunlight.
- Fridge: Veggie chips can be kept in an airtight bag or container in the fridge for up to 1 week. This helps maintain their crispiness and freshness.
- Freezer: For longer storage, freeze granola bars wrapped tightly in plastic wrap and then placed in a freezer bag for up to 3 months. Thaw at room temperature before enjoying.
- Reheating: If your veggie chips lose their crunch, simply pop them in the oven at 350°F (175°C) for about 5 minutes to revive their crisp texture.
camping snacks make ahead Variations
Feel free to get creative and tailor these snacks to your taste buds for a delightful camping experience!
- Nut-Free: Replace mixed nuts with 1 cup of seeds like sunflower or pumpkin seeds for a crunchy alternative. This keeps the texture satisfying while catering to nut allergies.
- Chocolate-Free: Swap dark chocolate chips for carob chips or coconut flakes to maintain sweetness without the chocolate flavor. Both options add a unique twist that’s sure to please everyone.
- Tropical Twist: Use dried mango or pineapple instead of raisins or cranberries for a sunny, tropical vibe. These fruits bring a bright burst of flavor that perfectly complements the crunch.
- Savory Mix: Incorporate savory elements like pretzel pieces or cheese crackers in place of some dried fruit. This adds an unexpected salty crunch that balances out the sweetness beautifully.
- Spicy Kick: Add a sprinkle of cayenne pepper or chili powder to your mixed nuts for a fiery flavor boost. This spicy variation will awaken your taste buds and keep things exciting around the campfire.
- Chewy Bars: For granola bars with extra chewiness, include 1/2 cup of crispy rice cereal in your mixture. This lightens up the texture and makes every bite delightful and fun!
- Apple Cinnamon: Mix in 1/2 teaspoon of cinnamon and replace dried fruit with chopped dehydrated apples for a cozy fall-inspired trail mix. This comforting combination is perfect for chilly nights under the stars.
Make Ahead Options

Preparing camping snacks make ahead of time is a game-changer for your outdoor adventures. You can create the perfect blend of Trail Mix, Granola Bars, and Veggie Chips in advance to ensure you have delicious, energy-boosting snacks ready to go. For the Trail Mix, simply combine 1 cup of mixed nuts, 1 cup of dried fruit, ½ cup of dark chocolate chips, and ½ cup of seeds in a bowl. This can be made up to 3 days in advance and stored in an airtight container. For the Granola Bars, mix 2 cups of rolled oats with ½ cup each of honey and peanut butter, along with ¼ cup of brown sugar and 1 teaspoon of vanilla extract. Bake these for about 20 minutes until golden brown and they’ll stay fresh for up to a week. Lastly, the Veggie Chips can also be prepared ahead; just toss the kale with olive oil and salt and bake at 300°F for 20-25 minutes until crispy—these are best enjoyed within a few days while still crunchy. By prepping these camping snacks make ahead, you not only save time but also ensure that your trip is filled with tasty treats!
camping snacks make ahead Recipe FAQs
Can I substitute the nuts in the trail mix?
Absolutely! If you have nut allergies or prefer different flavors, feel free to swap the mixed nuts for seeds like sunflower or hemp seeds. You can also use roasted chickpeas for a crunchy twist!
How should I store the granola bars after baking?
Once your granola bars have completely cooled, store them in an airtight container at room temperature for up to a week. For longer storage, you can wrap individual bars in plastic wrap and freeze them for up to three months—just thaw them overnight before your camping trip!
What’s the best way to ensure my kale chips turn out crispy?
To achieve that perfect crunch, make sure to remove all moisture from the kale after washing it. A salad spinner works wonders! Also, tossing with olive oil and salt is key; just don’t overcrowd the baking sheet. Bake until they’re golden and crispy, around 20-25 minutes at 300°F (150°C), turning halfway through for even cooking.
How many servings does this recipe yield?
This delightful camping snacks make-ahead recipe serves four people. However, if you’re planning for a larger group or family gathering, consider doubling the ingredients so everyone can enjoy these tasty treats during your outdoor adventures!
Can I use other types of sweeteners instead of honey in the granola bars?
Yes! If you’re looking for alternatives, maple syrup or agave nectar can be great substitutes for honey. Just keep in mind that using liquid sweeteners may slightly alter the texture of your granola bars, making them chewier rather than firm.
What dietary considerations are there for these snacks?
These snacks are quite versatile! The trail mix is naturally gluten-free and can be made vegan by using maple syrup instead of honey. The granola bars can also be made dairy-free by opting for almond butter. Just remember to check labels on any packaged ingredients you choose to ensure they meet your dietary needs!
Camping Snacks Make Ahead
Ingredients
Method
- In a mixing bowl, combine mixed nuts, dried fruit, dark chocolate chips, and seeds. Stir until well mixed.
- Preheat oven to 350°F (175°C). In a bowl, mix rolled oats, honey, peanut butter, brown sugar, and vanilla extract until combined.
- Spread the mixture into a greased baking sheet and press down firmly. Bake for 20 minutes or until golden brown.
- Let cool completely before cutting into bars.
- Preheat oven to 300°F (150°C). Toss kale with olive oil and salt. Spread evenly on a baking sheet.
- Bake for 20-25 minutes until crispy, turning halfway through.