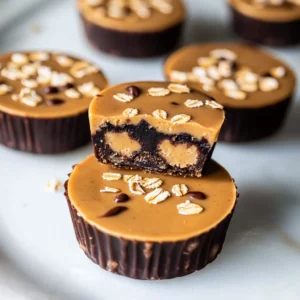

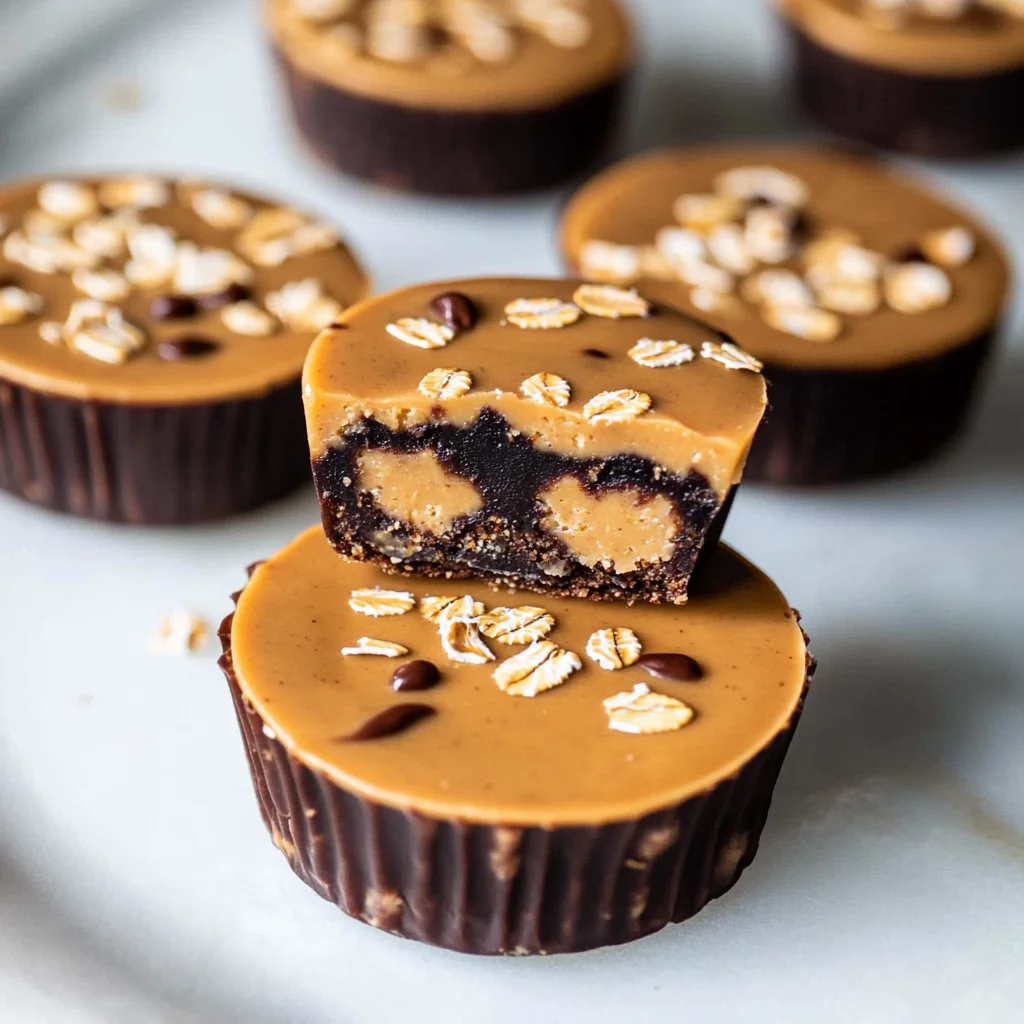
Imagine sinking your teeth into a chewy, nutty delight that melts in your mouth while offering a sweet and satisfying crunch—these no bake peanut butter oat cups are your new best friend for snack time. With every bite, the rich aroma of peanut butter mingles with the wholesome goodness of oats, creating a treat that feels indulgent yet guilt-free, perfect for those moments when cravings strike.
Picture this: you’re at home on a lazy afternoon, craving something sweet but don’t want to deal with the oven. That’s when these no bake peanut butter oat cups come to the rescue, bringing back memories of carefree childhood treats shared with friends after school. Whether it’s a cozy movie night or a quick energy boost before heading out for an adventure, these delightful cups promise an explosion of flavor that will leave you reaching for seconds.
Why Is no bake peanut butter oat cups So Irresistibly Good?
Quick and easy to make, these no-bake peanut butter oat cups require just 15 minutes of prep time. Nutritious ingredients like rolled oats and peanut butter provide a healthy dose of energy, making them perfect for any snack cravings. Sweetened naturally with honey or maple syrup, they cater to both traditional and vegan diets. Deliciously customizable, you can add chocolate chips or even dried fruits to satisfy your taste buds. With their delightful flavor and wholesome goodness, these cups are sure to become a family favorite!
no bake peanut butter oat cups Ingredients
- For the Base
- 1 cup rolled oats – This hearty ingredient provides a chewy texture and is packed with fiber to keep you full.
- 1/2 cup peanut butter (creamy or crunchy) – Rich in protein and healthy fats, it adds creaminess and flavor to your no bake peanut butter oat cups.
- For the Sweetness
- 1/4 cup honey (or maple syrup for vegan option) – This natural sweetener binds the ingredients together while adding a touch of sweetness; use maple syrup for a vegan treat!
- For the Extra Treat
- 1/4 cup chocolate chips (optional) – A delightful addition that brings a hint of indulgence; feel free to skip if you prefer a healthier version.
- For Flavor
- 1/2 teaspoon vanilla extract – This enhances the overall flavor profile, making your no bake peanut butter oat cups even more irresistible.
How to Make no bake peanut butter oat cups
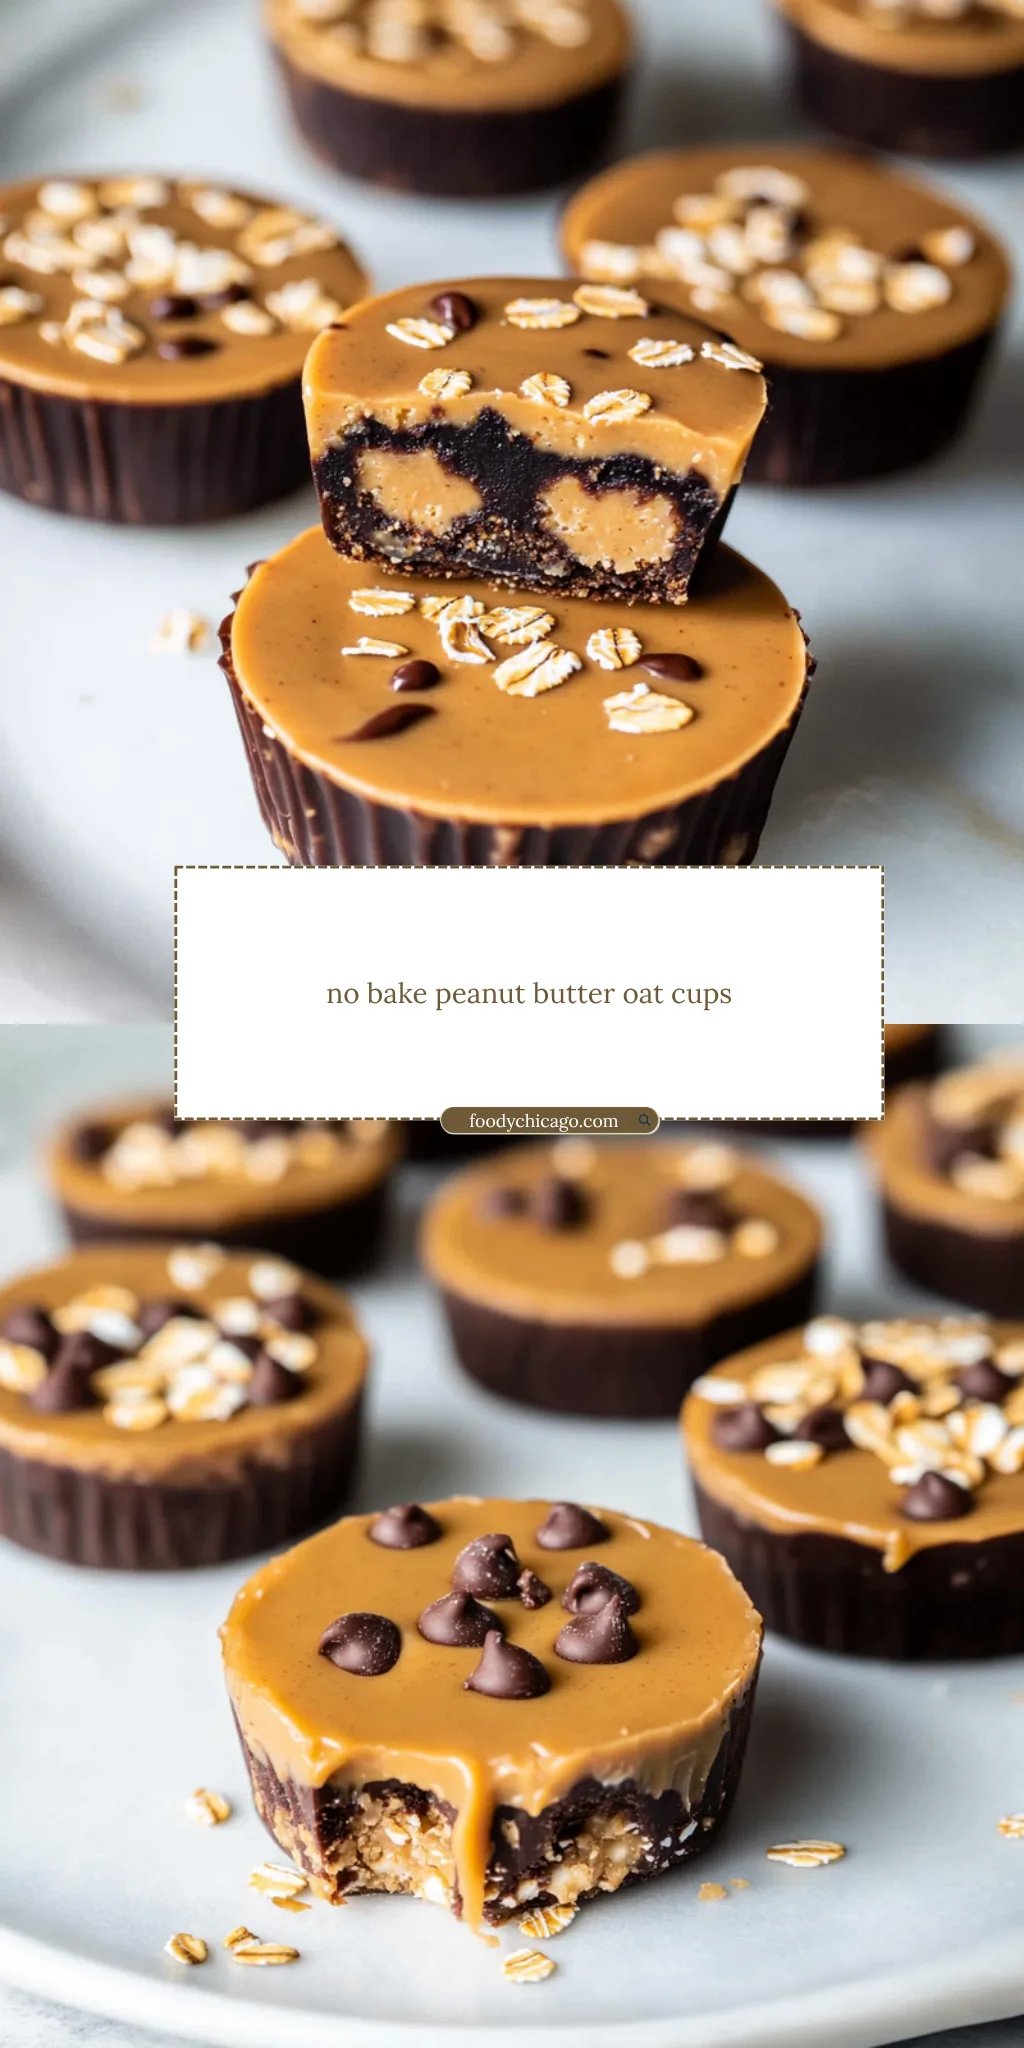
1. Combine Ingredients: In a mixing bowl, combine 1 cup rolled oats, 1/2 cup peanut butter, 1/4 cup honey, and 1/2 teaspoon vanilla extract. Mix until everything is well combined; the texture should be sticky yet cohesive.
2. Fold in Chocolate Chips: If you’re feeling indulgent, gently fold in 1/4 cup chocolate chips for a touch of sweetness. This step is optional but adds delightful bursts of flavor!
3. Pack the Mixture: Spoon the mixture into a muffin tin, pressing down firmly to pack each cup tightly. This helps them hold their shape once set and makes them easier to pop out.
4. Chill to Set: Refrigerate your cups for at least 30 minutes to let them firm up. The waiting might be hard, but the deliciousness will be worth it!
5. Enjoy Your Treats: Once set, carefully remove the no bake peanut butter oat cups from the muffin tin and savor each bite of this nutty goodness!
Optional: Drizzle with extra honey for added sweetness before serving.
Exact quantities are listed in the recipe card below.
Expert Tips
- Oat Type Matters: Use rolled oats for the best texture; quick oats can make your no bake peanut butter oat cups too mushy.
- Peanut Butter Choice: Creamy peanut butter yields a smoother mixture, while crunchy adds delightful texture. Choose based on your preference!
- Sweetness Balance: Adjust honey or maple syrup to taste; too much can make it overly sweet, overshadowing the nutty flavor.
- Press Firmly: Pack the mixture tightly in the muffin tin to ensure your cups hold their shape when removed from the mold.
- Chill Time: Allowing at least 30 minutes in the fridge is crucial for setting. Rushing this step may lead to crumbly oat cups.
How to Store and Freeze no bake peanut butter oat cups
- Room Temperature: Keep your no bake peanut butter oat cups in an airtight container for up to 3 days, away from direct sunlight.
- Fridge: For longer freshness, store the oat cups in the fridge for up to a week. Make sure they’re sealed tightly to prevent drying out.
- Freezer: You can freeze these delicious treats for up to 3 months. Wrap each cup individually in plastic wrap and place them in a freezer-safe bag.
- Thawing: When ready to enjoy, simply thaw at room temperature for about 15 minutes or pop them in the fridge overnight.
no bake peanut butter oat cups Your Way
Feel free to unleash your creativity and customize these delightful treats to suit your taste buds!
- Nut-Free: Swap peanut butter for sunflower seed butter for a deliciously nut-free alternative. These cups will still be creamy and satisfying, perfect for those with allergies.
- Sweetener Switch: Use agave syrup instead of honey for a lighter sweetness. This subtle change can make your oat cups a bit more delicate while retaining that lovely flavor.
- Add Some Spice: Mix in 1/2 teaspoon of cinnamon or pumpkin spice for a warm, cozy flavor. This addition brings a hint of nostalgia, making each bite feel like a warm hug.
- Fruit Boost: Incorporate 1/4 cup of dried cranberries or raisins for added sweetness and chewiness. The fruit not only enhances the texture but also offers a delightful contrast against the nutty base.
- Chocolate Lovers: Double the chocolate chips or use dark chocolate chunks for an indulgent twist. The rich chocolatey flavor will satisfy even the most ardent sweet tooth!
- Protein Punch: Add 1/4 cup of protein powder to boost nutrition without sacrificing taste. This will give you an extra energy kick, making them perfect for post-workout snacks.
- Coconut Twist: Stir in 1/4 cup of shredded coconut for tropical flair. The coconut adds a chewy texture and makes these cups feel like a mini-vacation!
- Chili Kick: For those who love heat, sprinkle in a pinch of cayenne pepper or chili powder. This surprising twist elevates the flavors, giving your treats an exciting edge!
Make Ahead Options

These no bake peanut butter oat cups are a fantastic choice for meal prep, ensuring you have a delicious and nutritious snack ready to go whenever hunger strikes. You can combine the rolled oats, peanut butter, honey, and vanilla extract in advance—this mixture will hold up well in your fridge for up to 24 hours before packing them into muffin tins. If you opt to include chocolate chips, feel free to fold those in as well; they’ll add a delightful touch when you’re ready to serve. Simply refrigerate the filled muffin tin for at least 30 minutes to set. Once set, remove them from the tin and store them in an airtight container for up to three days. This way, you’ll always have your healthy treat on hand without any fuss!
no bake peanut butter oat cups Recipe FAQs
How can I choose the best peanut butter for my oat cups?
Selecting the right peanut butter can make a big difference in flavor and texture! For a creamier consistency, go for smooth peanut butter. If you love a bit of crunch, crunchy peanut butter adds delightful texture. Just ensure it’s natural without added sugars or hydrogenated oils to enhance the health benefits of your no-bake peanut butter oat cups.
What if I want to make these oat cups vegan?
No problem at all! You can easily substitute honey with maple syrup, which works beautifully as a sweetener in this recipe. The rest of the ingredients stay the same, making it simple to create a delicious vegan treat that everyone will love!
Can I store the no-bake peanut butter oat cups?
Absolutely! Once they’ve set in the fridge for at least 30 minutes, you can store them in an airtight container. They’ll stay fresh for up to a week, but trust me, they might not last that long! Just make sure to keep them refrigerated to maintain their delightful texture.
Is it possible to freeze these oat cups?
Yes, you can freeze your no-bake peanut butter oat cups! Simply wrap them individually in plastic wrap before placing them in an airtight container or freezer bag. They’ll keep well for up to 2 months. When you’re ready to enjoy one, just let it thaw in the fridge overnight or at room temperature for about 30 minutes.
What if my mixture is too dry or too wet?
If your mixture feels too dry and crumbly, try adding a splash more honey or maple syrup and mix again until it reaches a sticky consistency. Conversely, if it’s too wet, add a little more rolled oats to balance it out. The goal is a mixture that holds together but isn’t overly sticky when pressed into the muffin tin.
How many servings does this recipe yield?
This delightful recipe makes about 4 servings, with each serving containing around 150 calories. Perfect for portion control or sharing with loved ones! Feel free to double or triple the recipe if you’re looking to have more on hand for snacks or dessert throughout the week.
No Bake Peanut Butter Oat Cups
Ingredients
Method
- In a mixing bowl, combine rolled oats, peanut butter, honey, and vanilla extract. Mix until well combined.
- If using, fold in chocolate chips.
- Spoon the mixture into a muffin tin, pressing down firmly to pack each cup.
- Refrigerate for at least 30 minutes to set.
- Once set, remove from the muffin tin and enjoy!