

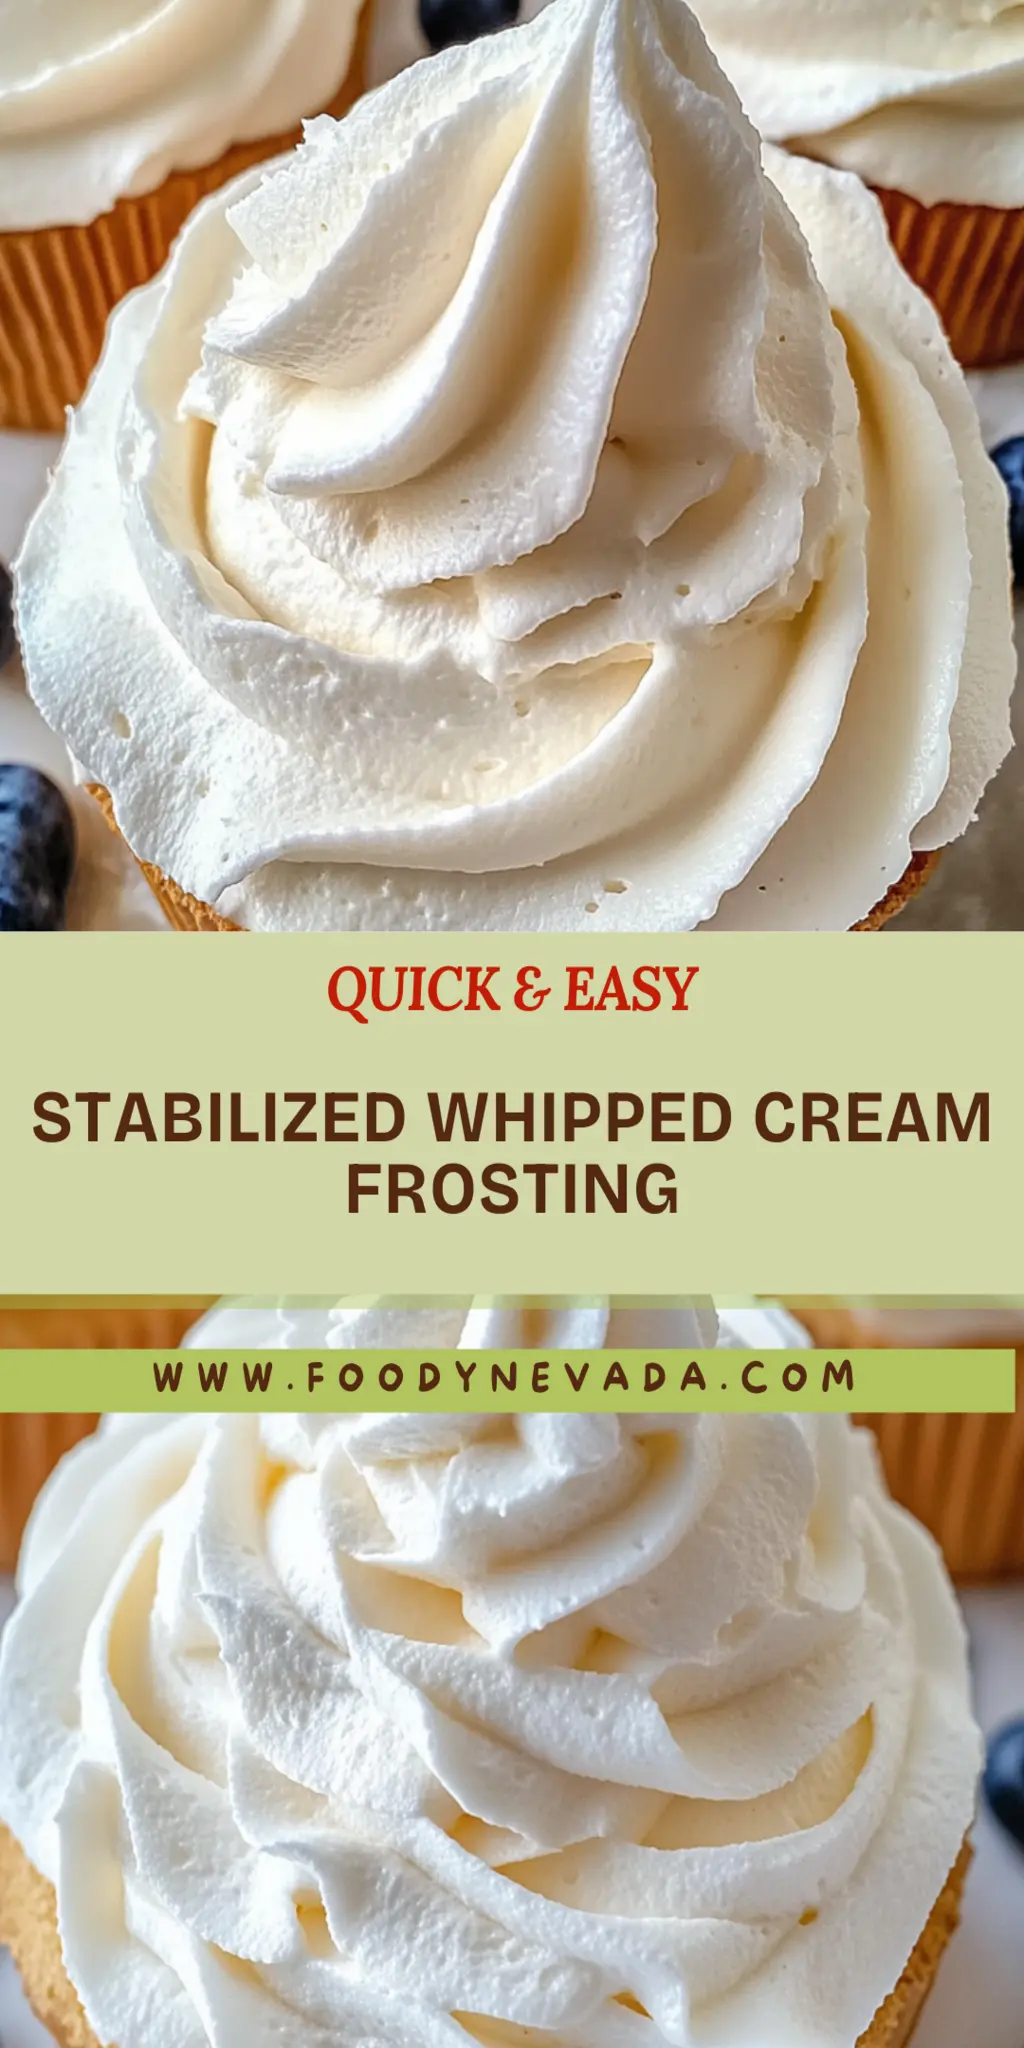
There’s something magical about whipped cream that makes desserts sing with joy, isn’t there? This Stabilized Whipped Cream Frosting is the fairy godmother of frostings, transforming your cakes from drab to fab in a matter of minutes. Imagine creamy, fluffy clouds of sweet goodness that not only taste amazing but also hold their shape like a high-fashion model strutting down the runway.
Whether you’re crafting a birthday cake, dolloping it on cupcakes, or just looking for that perfect frosting for a simple Tuesday evening dessert, this recipe guarantees a delectable result. Close your eyes and envision the rich vanilla flavor dancing across your palate, paired with the luxurious texture that this frosting provides. Get ready to dive into this delightful experience!
Why You'll Love This Stabilized Whipped Cream Frosting
- This incredible Stabilized Whipped Cream Frosting transforms simple everyday ingredients into restaurant-quality flavors that will blow your mind completely.
- Foolproof recipe techniques guarantee perfect results every single time, making even novice cooks feel like professional chefs instantly.
- Stunning visual appeal with gorgeous colors and mouthwatering aromas creates the ultimate Instagram-worthy dish for any special occasion.
- Endlessly adaptable for different dietary needs while working beautifully for meal prep, date nights, or entertaining large groups effortlessly.
Ingredients for Stabilized Whipped Cream Frosting
Here’s what you’ll need to make this delicious Stabilized Whipped Cream Frosting:
1 cup Heavy cream – Choose high-fat cream for the best results; it whips up beautifully and creates that dream texture.
1/2 cup Powdered sugar – This sweetener not only adds sweetness but also helps stabilize the frosting without any gritty texture.
1 teaspoon Vanilla extract – Use pure vanilla extract for an aromatic kick that elevates the flavor profile dramatically.
1 tablespoon Gelatin (powdered or sheet) – Essential for stability, gelatin helps your frosting keep its shape for days without wilting.
2 tablespoons Cold water – This is used to dissolve the gelatin and activate its stabilizing properties.
How to Make Stabilized Whipped Cream Frosting
Follow these simple steps to prepare this delicious Stabilized Whipped Cream Frosting:
Step 1: Prepare the Gelatin
Start by dissolving the gelatin in cold water. If you’re using powdered gelatin, let it bloom for a few minutes until it becomes gel-like. If you’re working with sheets, soak them in cold water until they’re soft, then squeeze out excess water.
Step 2: Combine the Ingredients
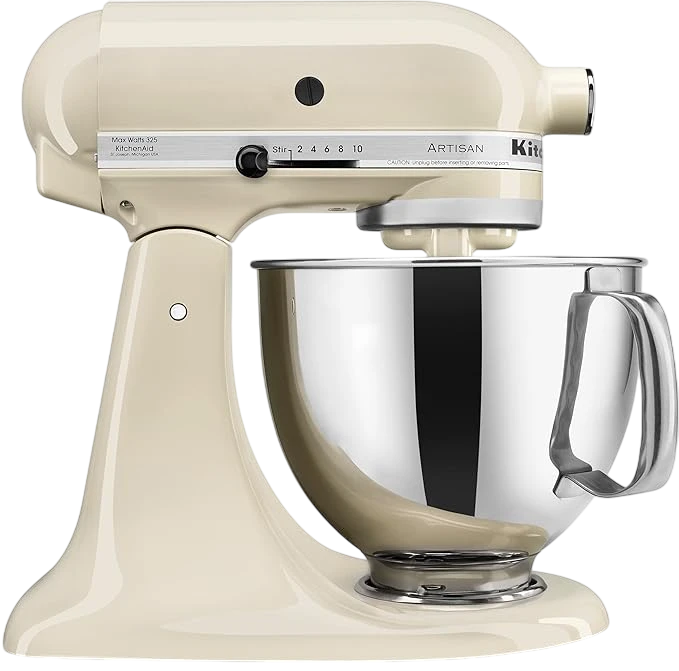
In a mixing bowl, add the cold heavy cream, powdered sugar, and vanilla extract. Use a whisk or an electric mixer for this step. Make sure the heavy cream is really cold, as this helps in achieving those billowy peaks.
Step 3: Beat to Soft Peaks
Begin whisking the mixture on medium speed until soft peaks form. This stage is crucial; you want the cream to hold its shape but not be too stiff. Think fluffy clouds rather than stubborn mountains.
Step 4: Add the Gelatin
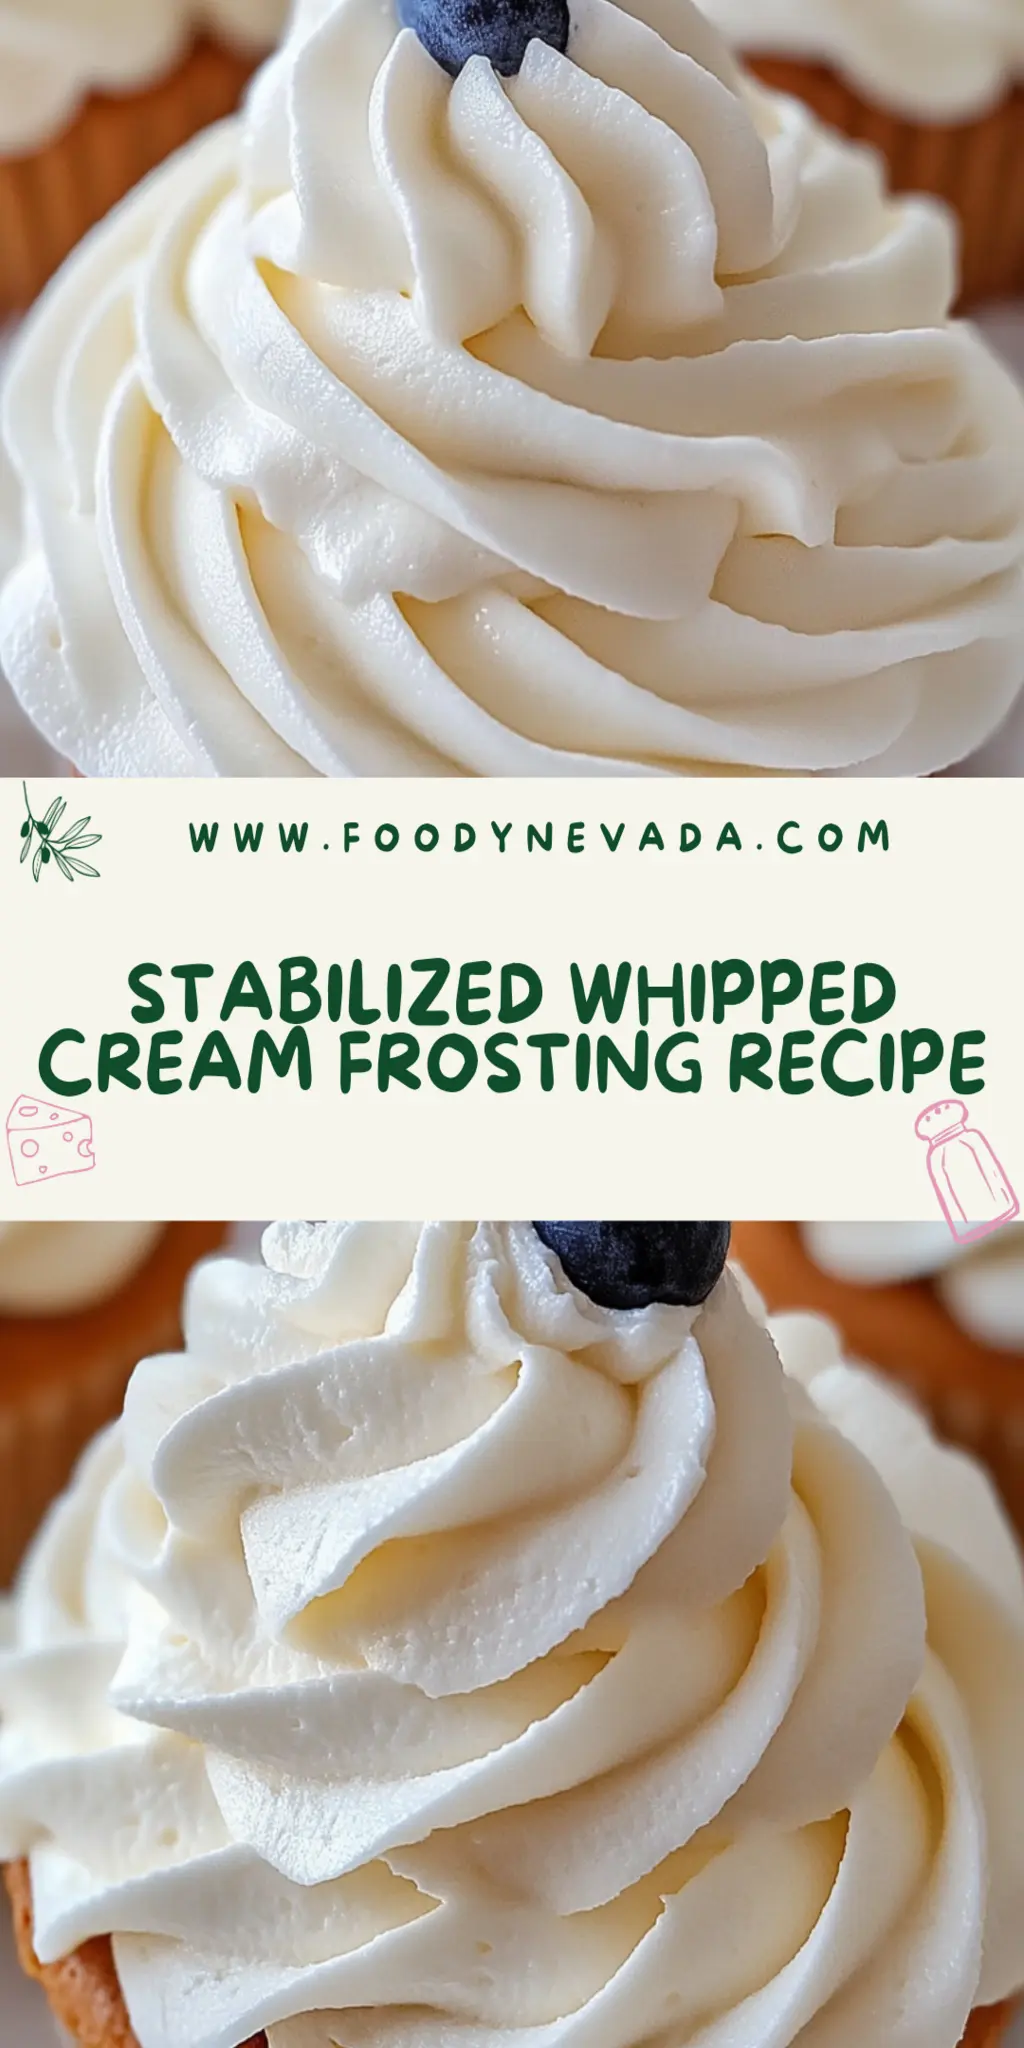
While continuing to whisk, slowly drizzle in the dissolved gelatin. This step is what will give your frosting its incredible stability. Keep on mixing until everything is well combined and you achieve stiff peaks. You should see a glossy, perfectly whipped cream that’s ready to grace any dessert.
Step 5: Chill and Serve
Once whipped, you can use the frosting immediately, or chill it in the refrigerator for a little while if needed. This chilling time can also help the flavors to meld together beautifully.
Step 6: Get Creative!
Use this beautiful Stabilized Whipped Cream Frosting to frost cakes or top cupcakes. It also works wonderfully as a layer in trifles or even as a filling for pastries. Just remember, this frosting holds up well – it’s perfect for those who want their masterpiece standing tall for hours.
Transfer to plates and watch as friends and family are dazzled by your baking prowess! This versatile frosting will soon be a staple in your kitchen, bringing smiles and sweet moments to every occasion.
Whether you’re celebrating a big milestone or simply indulging in a sweet treat, this Stabilized Whipped Cream Frosting is bound to turn heads and tantalize taste buds. So, gather your ingredients, channel your inner pastry chef, and prepare to wow with this sensational, fluffy topping!
You Must Know About Stabilized Whipped Cream Frosting
- This showstopping Stabilized Whipped Cream Frosting delivers restaurant-quality results using simple ingredients you probably already have at home.
- The perfect balance of textures and flavors creates an unforgettable dining experience that will have everyone asking for seconds.
- Picture-perfect presentation with vibrant colors makes this dish absolutely Instagram-worthy and guaranteed to impress any dinner guest.
- Incredibly versatile recipe that works beautifully for weeknight dinners, meal prep, special occasions, or even outdoor entertaining sessions.
Perfecting Stabilized Whipped Cream Frosting Cooking Process
To make the best Stabilized Whipped Cream Frosting, start by dissolving the gelatin, then whip the cream, and finally combine everything for a beautifully textured frosting that holds its shape.
Add Your Touch to Stabilized Whipped Cream Frosting
Feel free to swap the vanilla extract for almond or peppermint for a fun twist. You could even fold in fresh fruit or a little cocoa powder for flavor variations that suit any celebration.
Storing & Reheating Stabilized Whipped Cream Frosting
Store any leftover frosting in an airtight container in the fridge for up to a week. If it separates, simply re-whip it before using to restore its dreamy texture.
Chef's Helpful Tips for Stabilized Whipped Cream Frosting
- This professional-quality Stabilized Whipped Cream Frosting relies on precise timing and temperature control to achieve restaurant-standard results consistently.
- Master the art of mise en place by prepping all ingredients beforehand, ensuring smooth execution and preventing any last-minute cooking disasters.
- The secret lies in layering flavors throughout the cooking process rather than seasoning only at the end for maximum depth.
- Pro tip: let the finished dish rest for optimal texture and flavor development before serving to hungry guests waiting eagerly.
Creating this recipe reminds me of a dear friend’s birthday bash. I brought my Stabilized Whipped Cream Frosting, and everyone wanted to know my secret ingredient. Smooth frosting and happy friends—truly the best combination!
FAQs About Stabilized Whipped Cream Frosting
What is Stabilized Whipped Cream Frosting?
Stabilized whipped cream frosting is a luscious, creamy topping that doesn’t wilt or lose its shape quickly, unlike traditional whipped cream. By incorporating gelatin, this frosting maintains its texture and firmness, making it ideal for cake decorating or topping desserts. It’s perfect for warm weather, special occasions, or when you need a frosting that can hold up for hours without melting. With just a few ingredients and easy steps, you can create a frosting that impresses both in taste and presentation.
Can I use different flavors in Stabilized Whipped Cream Frosting?
Absolutely! One of the joys of making stabilized whipped cream frosting is its versatility. You can easily swap out vanilla extract for other flavors like almond, mint, or lemon to suit your taste or the occasion. For a fun twist, consider folding in cocoa powder for a chocolatey version or fresh fruit purees for a fruity flair. Just be creative—this frosting is your canvas!
How long can I store Stabilized Whipped Cream Frosting?
You can store stabilized whipped cream frosting in an airtight container in the refrigerator for up to a week. If you notice any separation or a change in texture, simply re-whip it briefly before using. This topping is perfect for meal prep or cakes that need to be made in advance, allowing for stress-free baking and decorating days.
Is Stabilized Whipped Cream Frosting suitable for outdoor events?
Yes, it is! Stabilized whipped cream frosting is an excellent choice for outdoor events due to its ability to maintain shape and consistency even in warmer climates. Unlike regular whipped cream, you won’t have to worry about it turning into a melting puddle during a summer barbecue or picnic. Just remember to keep it cool until serving for the best results.
Conclusion for Stabilized Whipped Cream Frosting
Stabilized whipped cream frosting is a game-changer in the world of dessert toppings. With its ability to hold shape and resist melting, it’s perfect for decorating cakes and enhancing various desserts. Remember to experiment with flavors and store any leftovers properly for future use. Embrace this versatile frosting, and let your culinary creativity shine! Whether it’s a birthday party or a casual dinner, this stabilized whipped cream frosting will delight your guests and elevate any dessert to the next level.

Ultimate Stabilized Whipped Cream Frosting Recipe for Perfect Cakes
Ingredients
Equipment
Method
- Dissolve the gelatin in cold water.
- In a mixing bowl, combine the cold heavy cream, powdered sugar, and vanilla extract.
- Beat the mixture with a mixer until soft peaks form.
- Gradually add the dissolved gelatin to the whipped cream while mixing until combined and stiff peaks form.